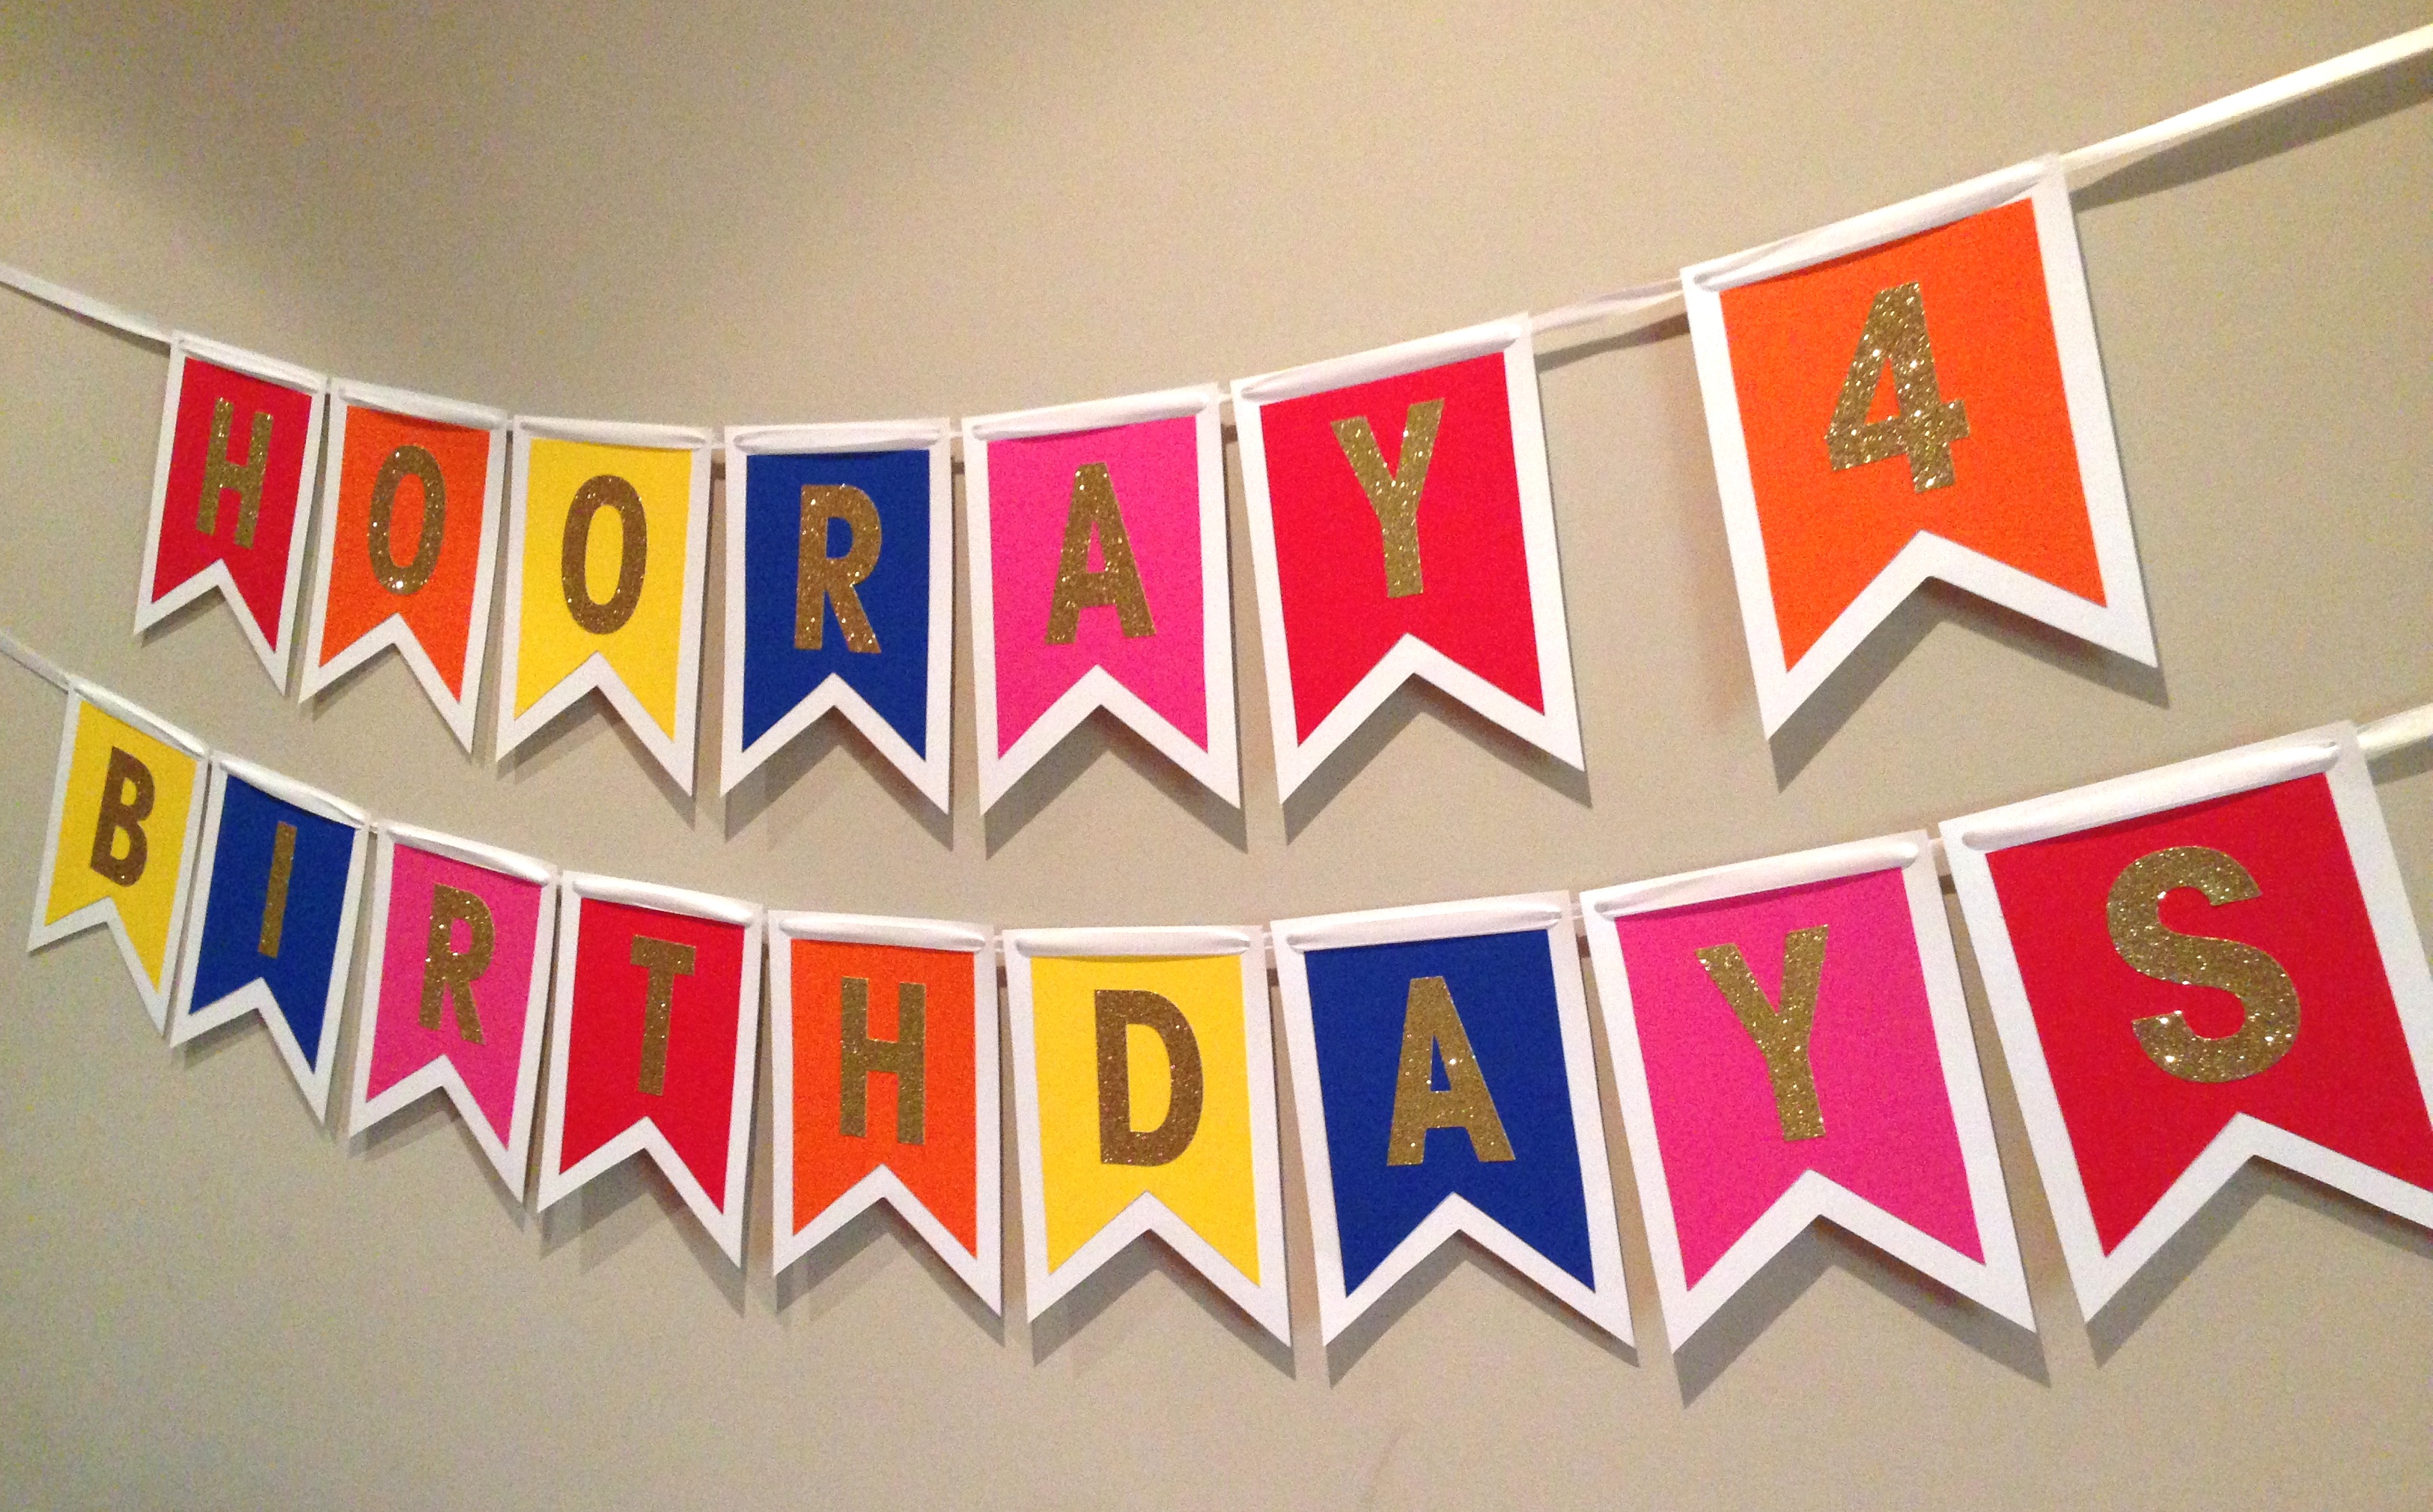
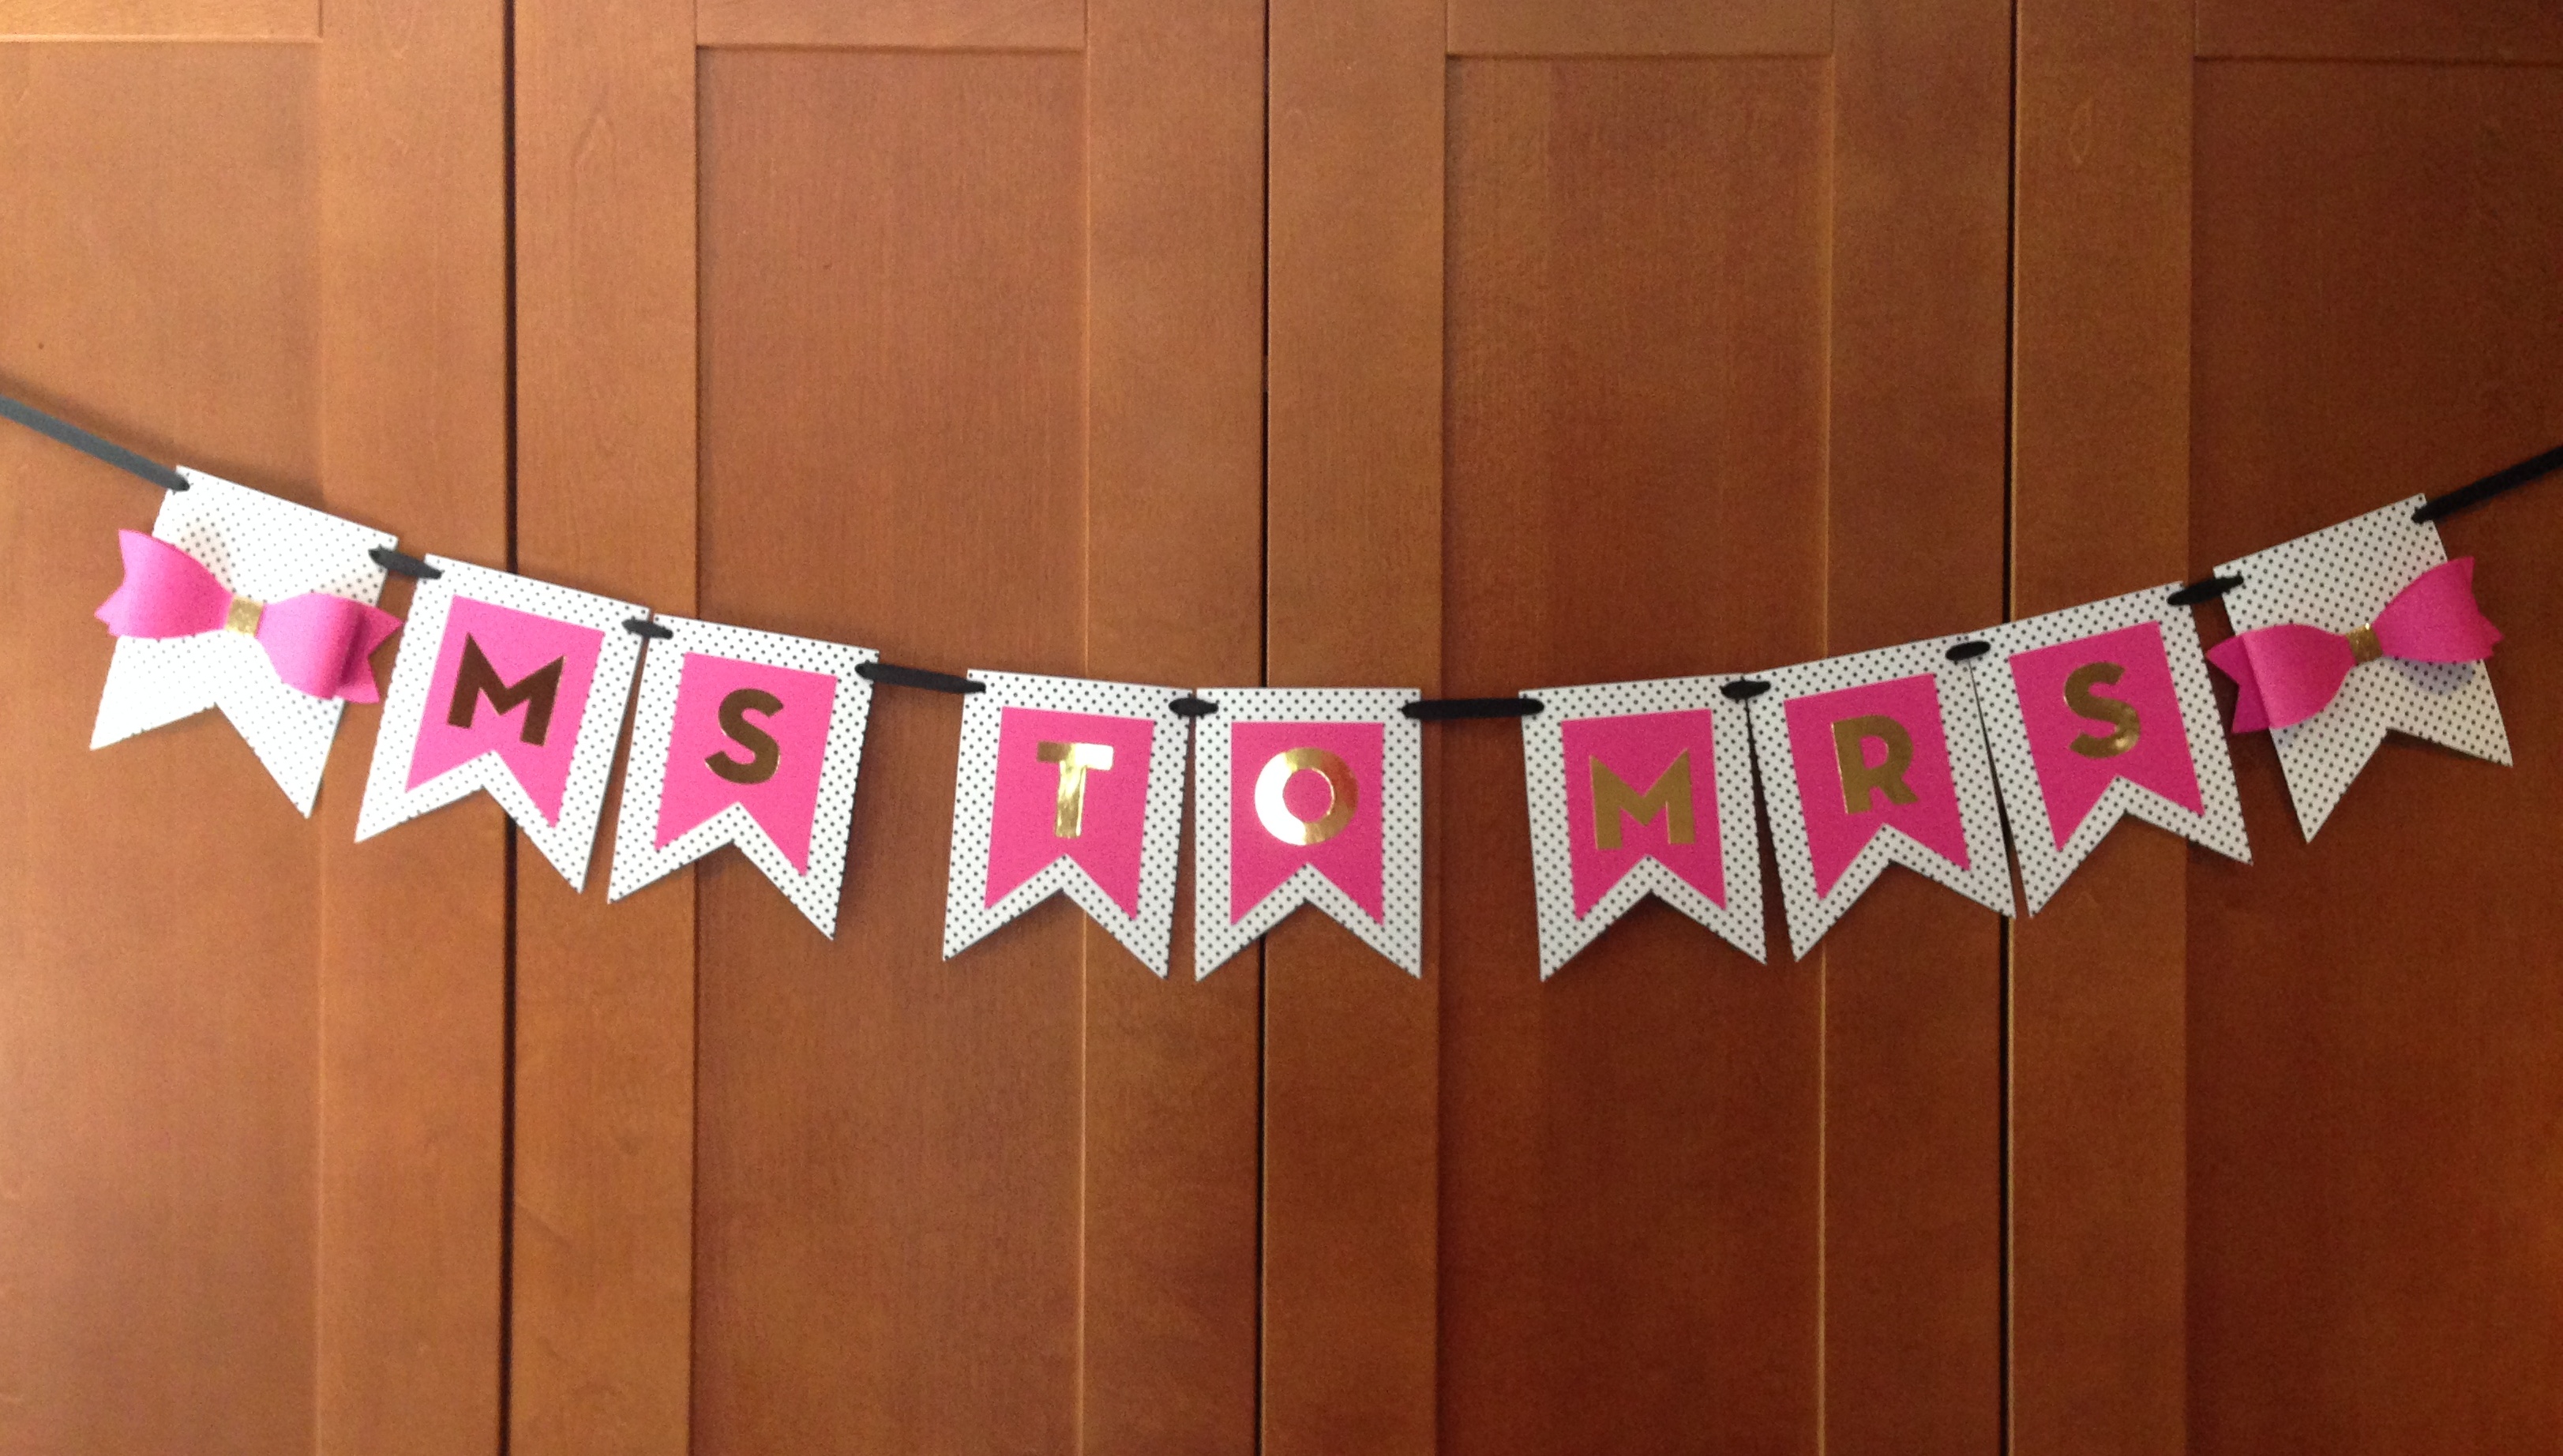
Something I sold a lot of on Etsy were party banners! And they were all hand made! Someday I hope to own a Cricut machine, which can make some stunning, detailed and professional party banners, crafts and other party decor. But they are an investment. This tutorial is an affordable solution. Pretty simple to make and gives a clean, stylish look.
What you need:
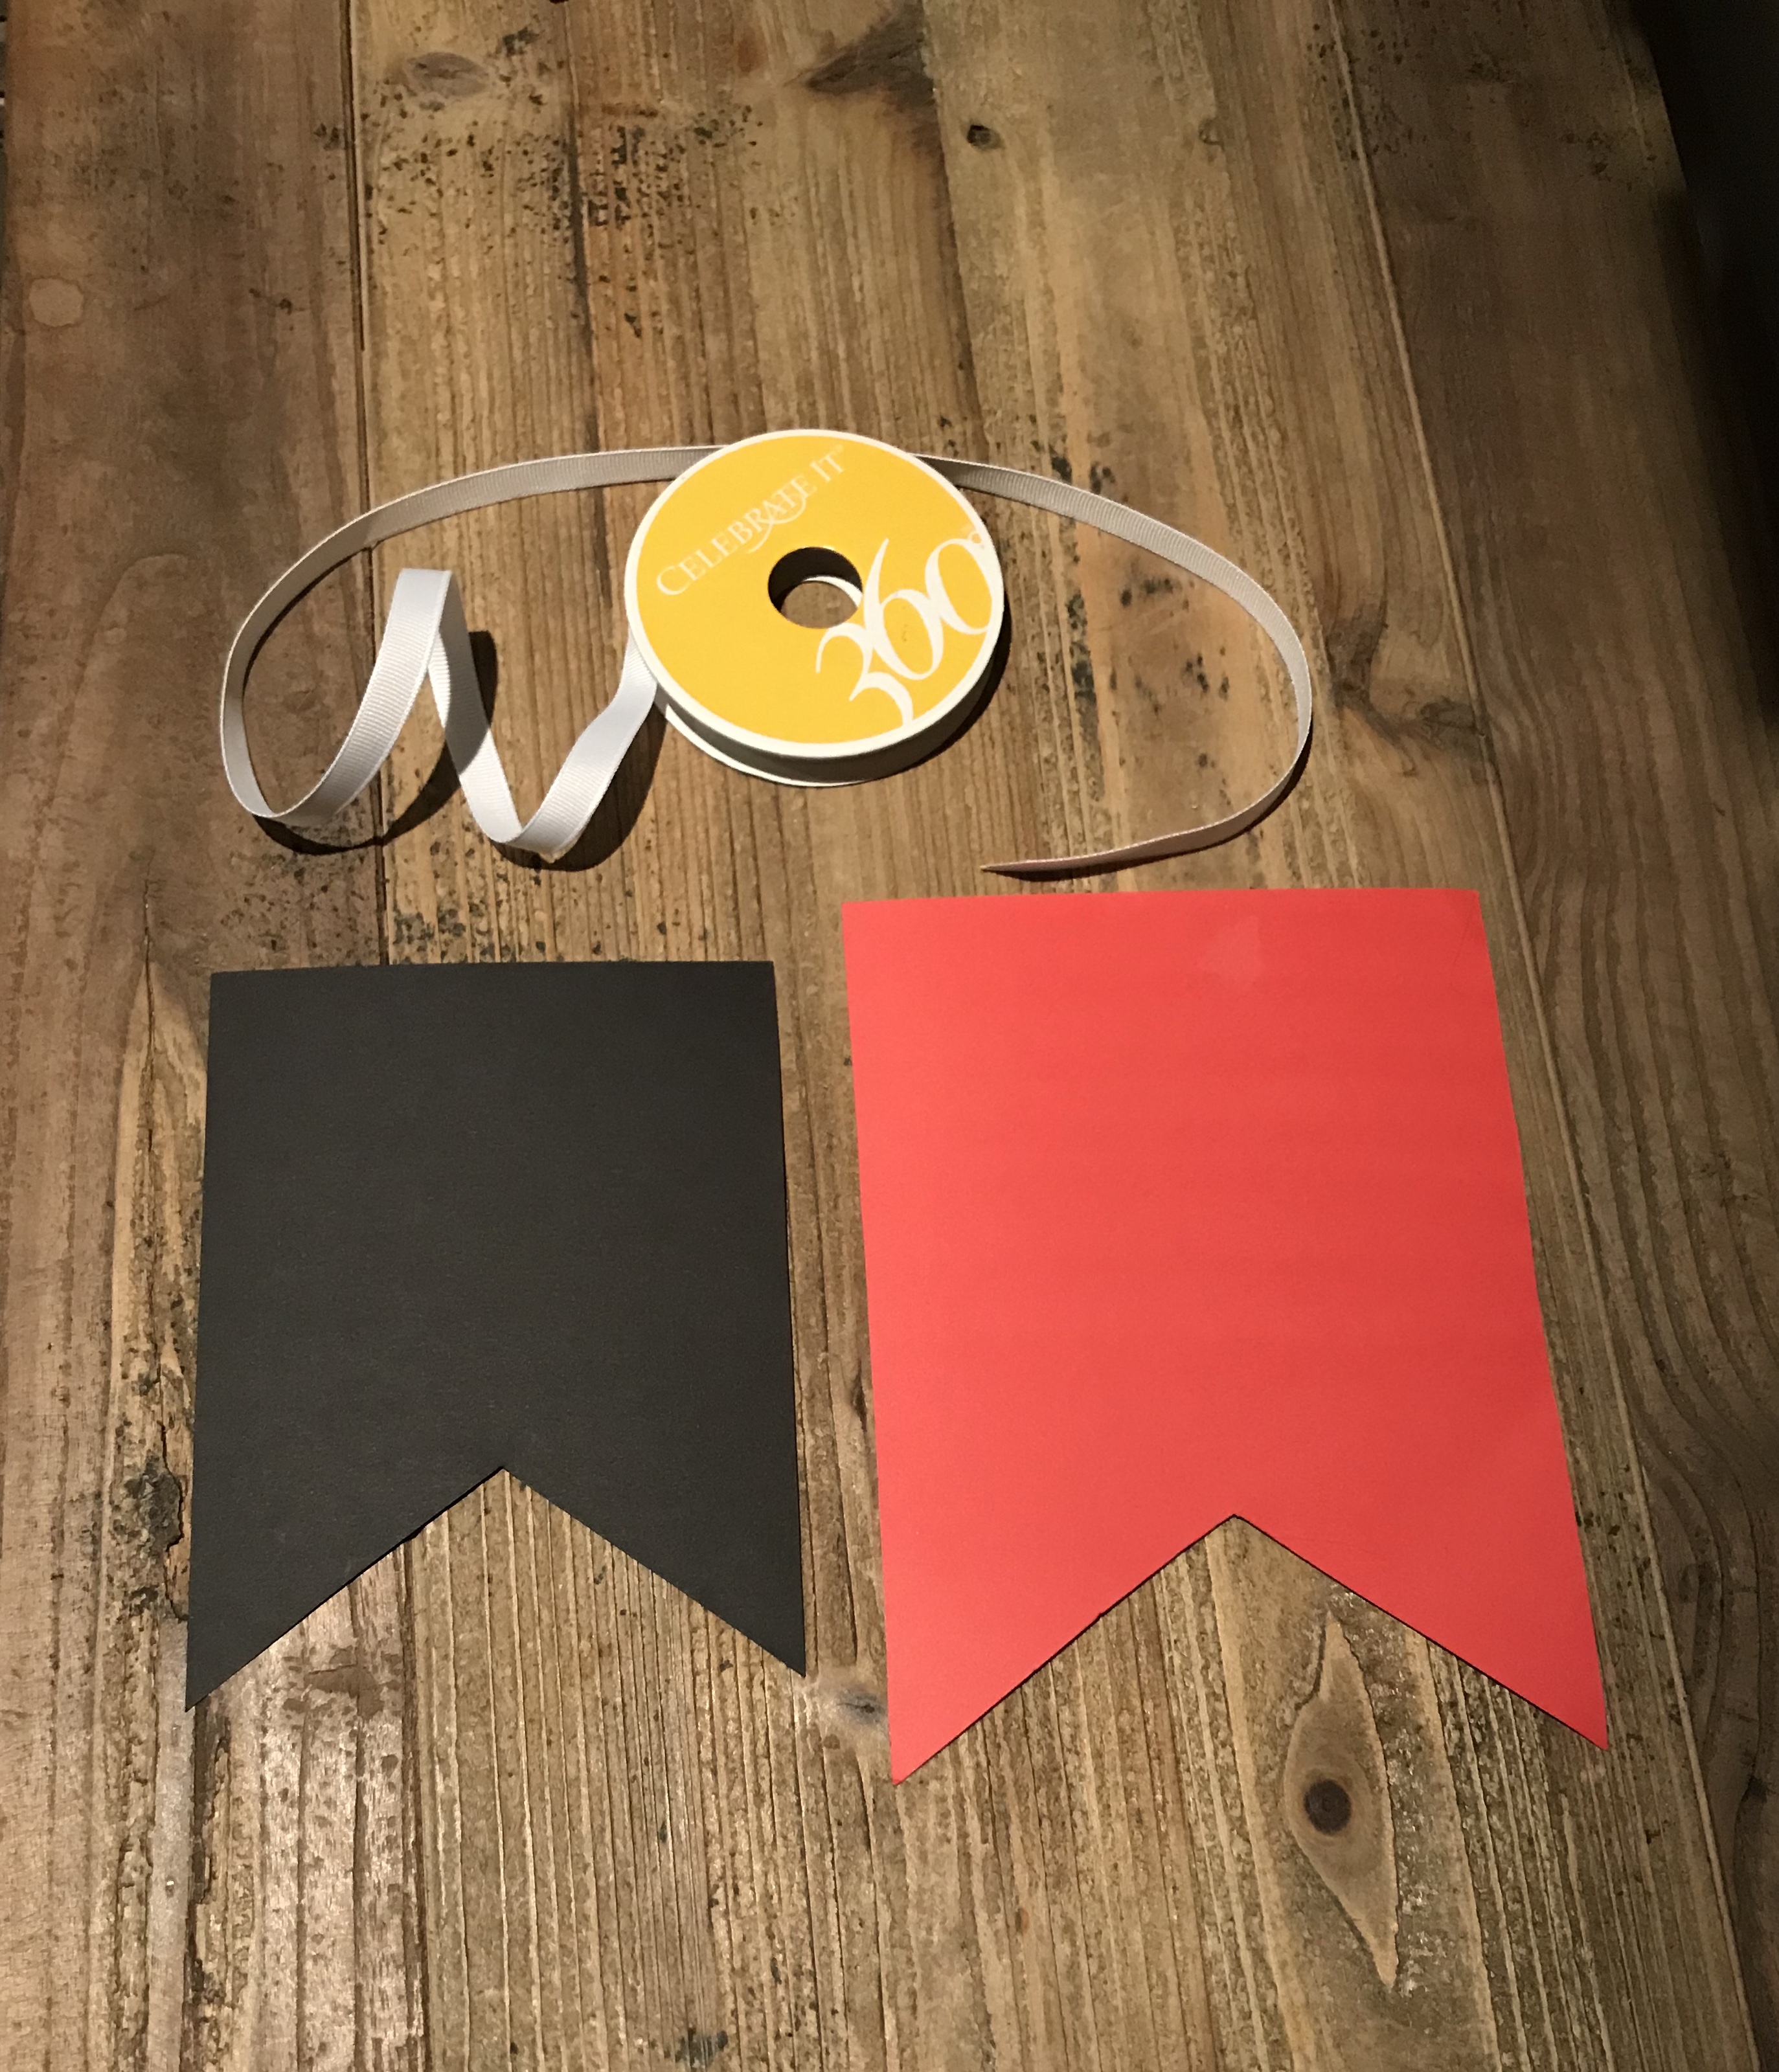
- Card stock, colors of your choice
- Ribbon
- Scissors
- Sticker letters
- Standard hole punch
How to:
1. First you’ll want to make yourself pennant templates out of card stock that you can use over and over. The ones shown here were my original templates and I’ve used them for 3 years! My outer pennant is 5 1/2 inches by 7 1/4 inches. Cut the bottom of the pennant 2 1/2 inches in the middle and cut the triangles equal distances on each side. My inner pennant is 4 1/2 inches by 6 inches. Cut 2 inches in the middle and make equal triangles on each side.
2. Grab the colored card stock you want to use for your banner and use the templates to trace your pennants. You will need 1 outer and 1 inner for each letter of your banner words. Michaels has a massive variety of card stock. Check for sales because you can often get a multicolor pack for as low as $2.
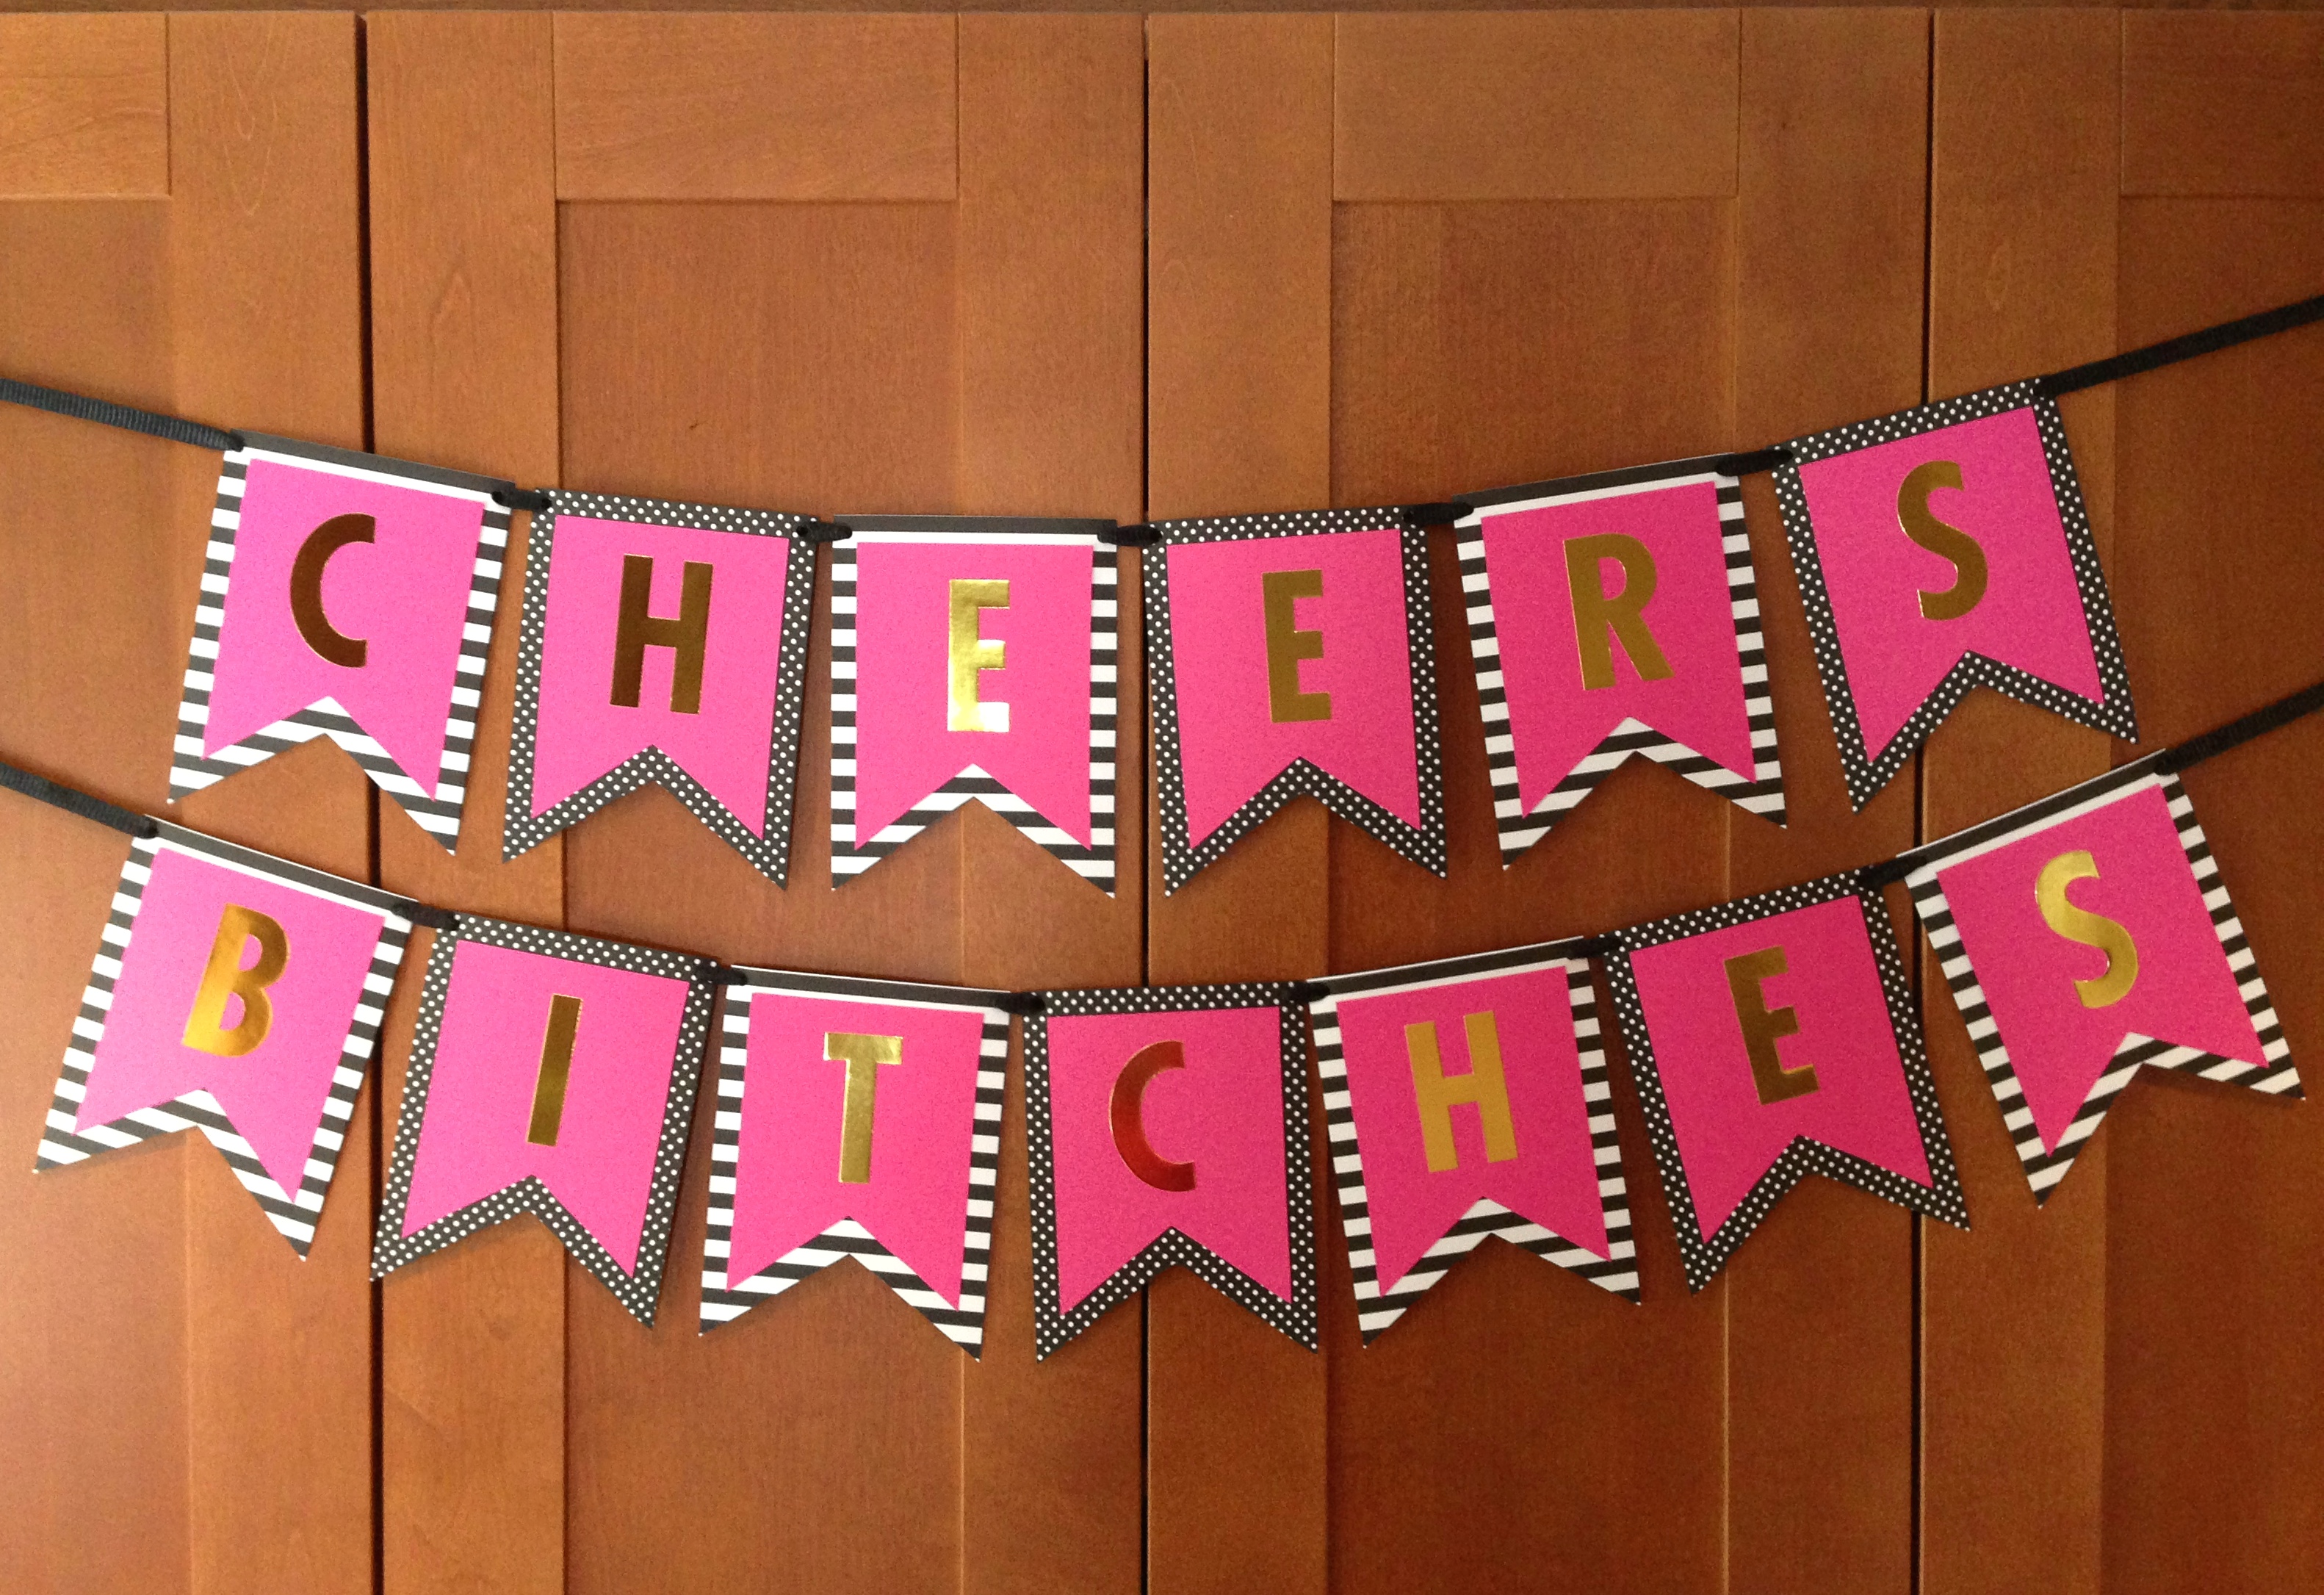
3. Use double sided tape to tape the inner pennant to the outer pennant, giving equal space around all sides.
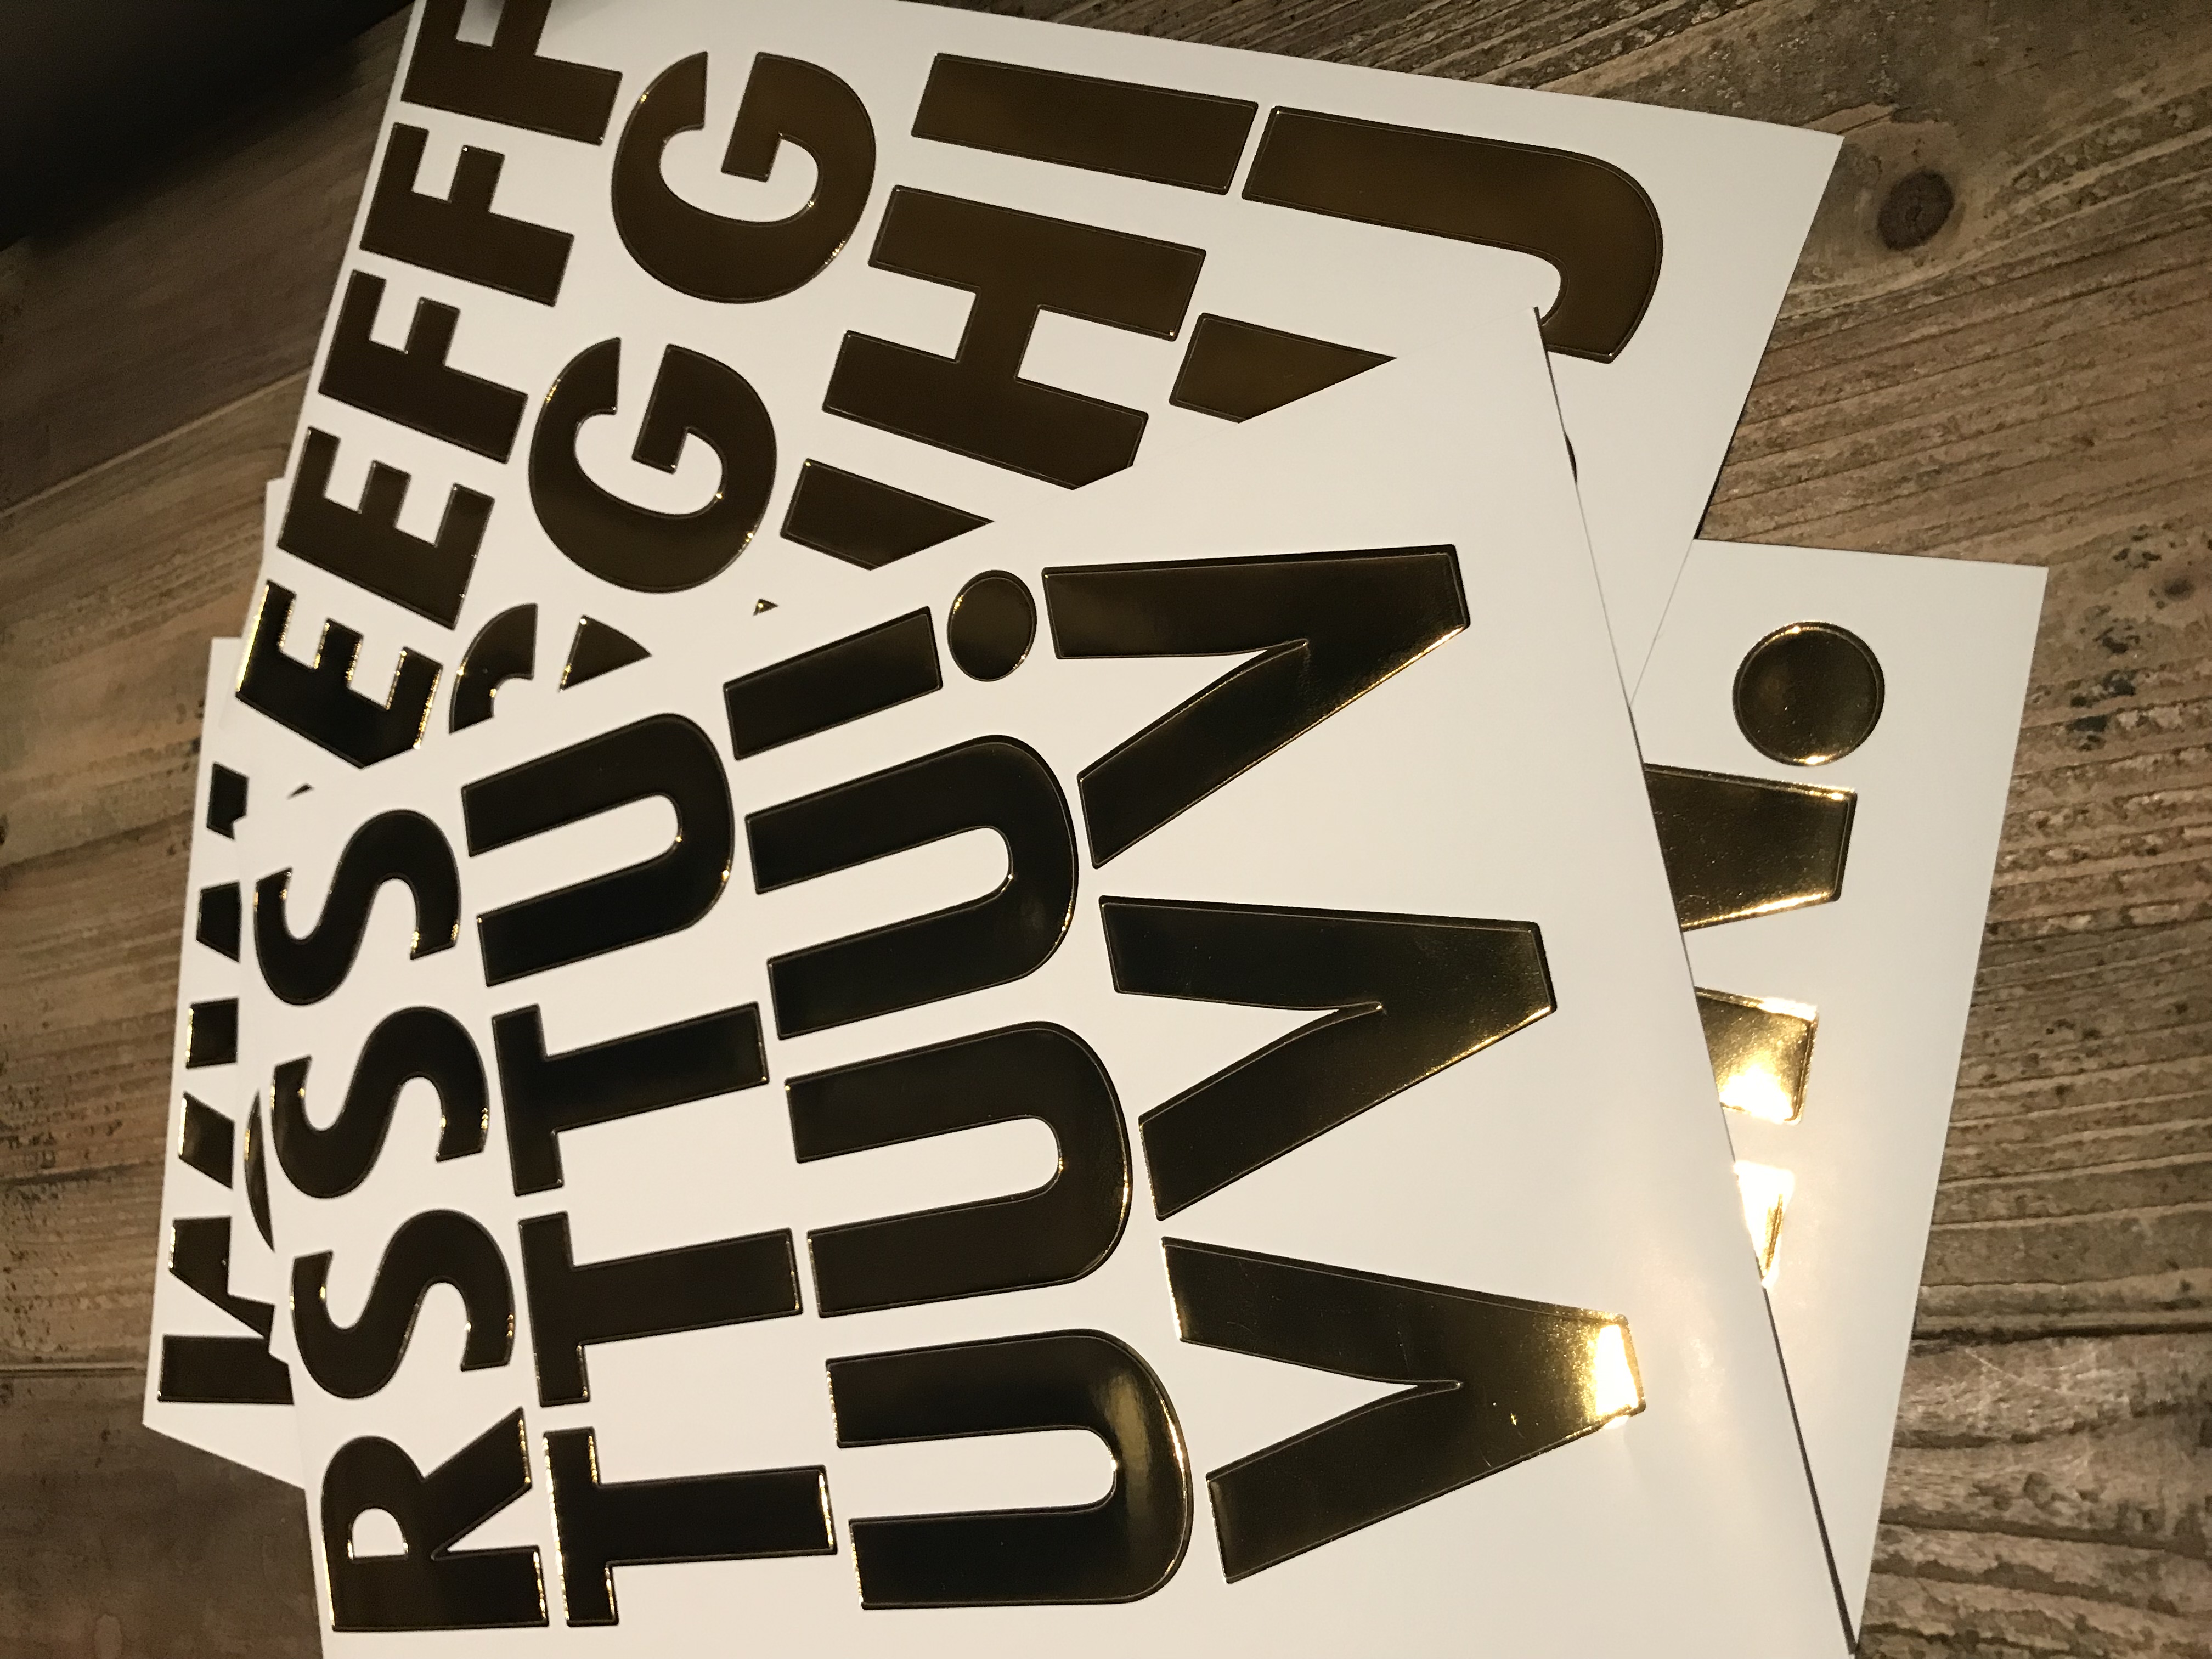
4. Using sticker letters, adhere 1 letter to the inner pennant, making sure to keep it centered. Continue for all letters to spell your word or phrase. These stickers letters above were from Target for $4.99! They typically carry gold, silver, black and white. Michaels has a wide variety of colors as well for about $7.99, but there are always 40-50% off coupons online or on the app!
5. Use a standard size hole punch on the top outer edges of the outer pennant.
6. String ribbon through the holes. Give yourself enough slack on each side to hang.
Easy Peasy! Don’t be afraid to play around with different colors and pattens! Thanks for checking out my How To tutorial! Happy crafting!


Leave a Reply