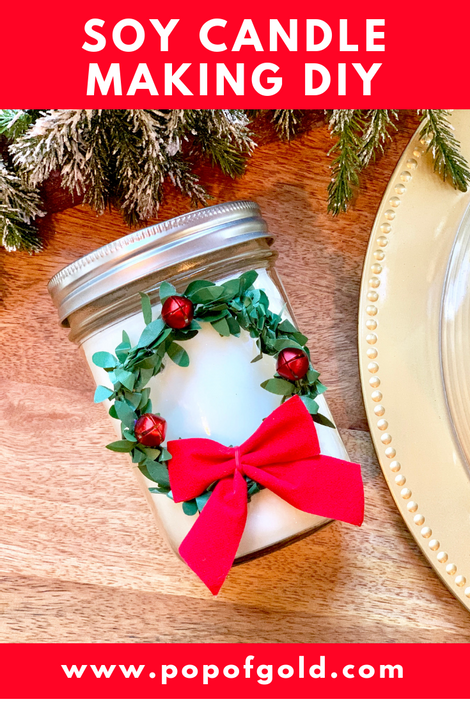
Hi all! Looking for some easy holiday gift options? How about making gifts?! They’re made with love and make gift giving fun for you and the recipient! I have a guide to making soy candles for you. I am by no means an expert, but I have been making candles for a few years just for fun! They really are pretty easy. The fun part for me is decorating the candle jars and really getting creative! Where to start? Find a container for the candle. I love using mason jars (for everything really) because you can use any and all sizes and I love that they have a lid! But look around, even in the dollar stores, for tins or jars or votive holders that give off the look you like!
Disclosure: Some of the links below are affiliate links. If you click through and decide to make a purchase, I will earn a commission at no additional cost to you. See my full disclosure policy here.
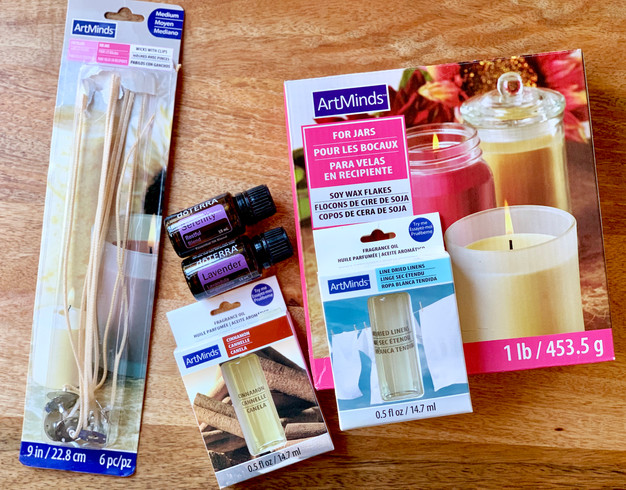
Supplies: (You can find these items at a craft store)
Jar for candle (I used a 16oz jar)
Pouring Pitcher or Pot
Fragrance Oil or Essential Oil, optional
Color Dye Chip, optional
Hot Glue Gun or Glue
Pencil or Wick Bar
Jar labels or decorative pieces to jazz up your jars (this is when you get creative!)
HERE is a complete DIY candle making kit if you’d like to just get it all together.
Some tips and tricks before we start…
1. 1 lb of wax flakes will make 16 ounces of melted candle wax. So I used 1 lb of wax for my one 16 oz mason jar candle. If you buy the smaller mason jars, such as the 8 oz, you can make 2 candles, etc.
2. Since I made a large candle, I used the 9 Inch wicks. If you are making smaller candles, you can buy shorter wicks.
3. Color dye chips are optional. I’ve never bought them because I like the look of white candles. But if you want a color to your candle, you do need to buy the dye chips.
4. Fragrance is also optional. You can have scentless candles. I have used both the fragrance oil made for candles that you find at a craft store as well as doTerra essential oils. Both are great! But I think essential oils are better overall. You’ll need about 1 ounce of fragrance for 1 lb of wax. Maybe a little less if it’s actual essential oil. I feel like the scent is stronger.
Directions:
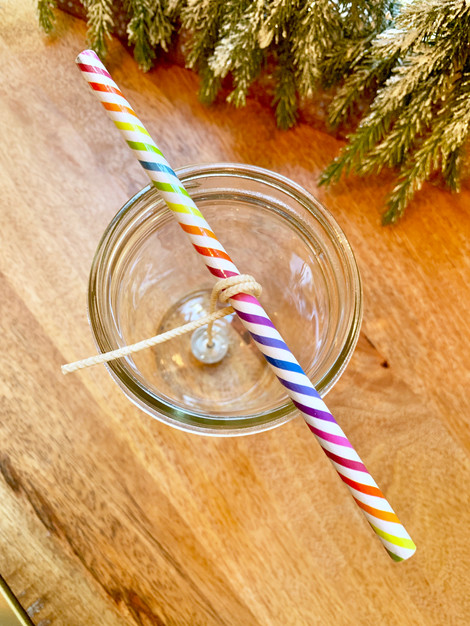
Step 1: Glue your pre tabbed wick to the bottom of your jar. Using a glue gun will make this process go faster as regular glue will need time to dry. Then hold your wick straight up and wrap it around a pencil to ensure it stays straight up and down. They do sell wick bars that help with this, but I find a pencil or pen is just fine.
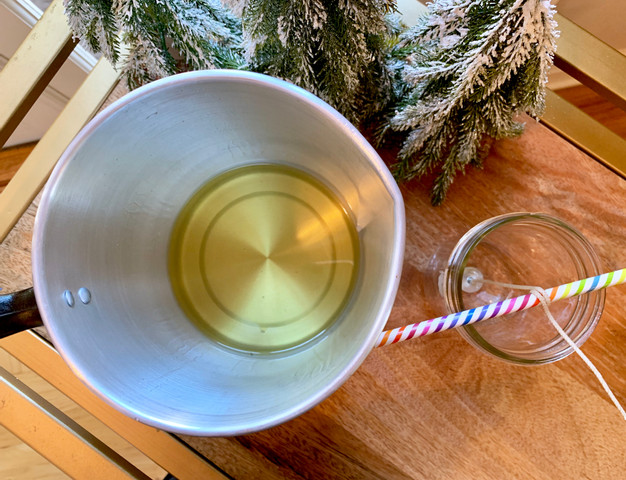
2. Melt your wax flakes in your pouring pitcher or pot over the stove. The nice thing with the pouring pitcher is that you use it right over the stove and makes pouring easy to ensure less mess. The last thing you want is hot wax spilling all over your table or countertop. Not fun to clean up. Once all pieces of wax are melted, remove from heat.
3. Stir in your fragrance or color chip.
4. Carefully pour the melted wax into your container(s). Let cool until hard and the color is solid. Usually about an hour for large candles.
5. Remove pencil or wick bar and trim wick to 1/2 inch long.

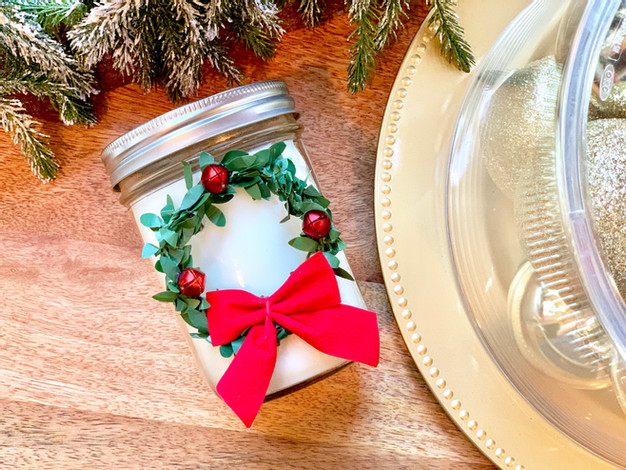
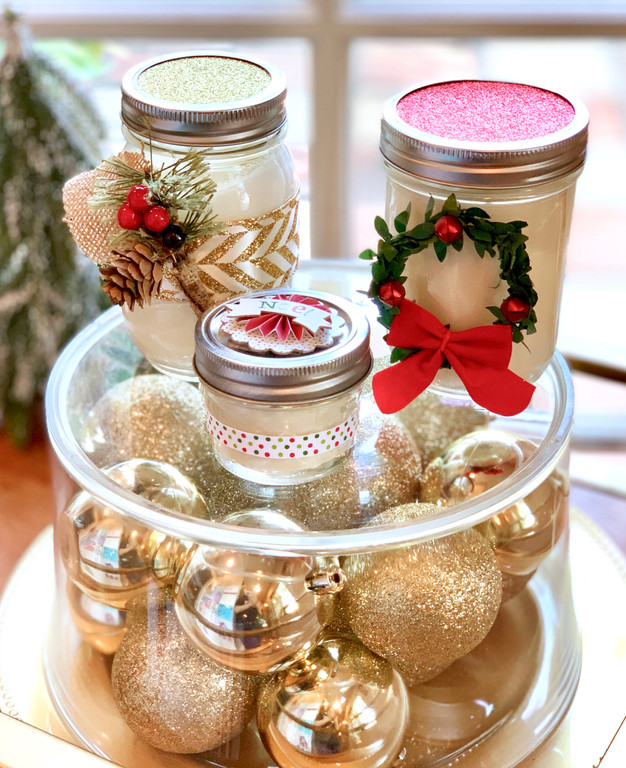
6. Decorate your jar for the holiday or occasion! Or your can find free candle label printables on Pinterest. Here is just one cute option I found.
Other ideas for decorating your jar:
– Use ribbon and hot glue it around the back side of the candle.
– Cut out a circle of glitter paper to put on the lid of your jar. Use your jar lid to trace.
– The wreath is a DIY I used in my Rustic Christmas Social. It’s just a greenery strand I found from the Target Dollar Spot with a red bow and jingle bells from the Dollar Tree.
– The Pine Cone/ Berry piece is a wreath pick that I glued to the jar.
– The Noel embellishment is a sticker I found at Michaels.
Not only do candles make great holiday and birthday gifts, but great party favors as well – baby showers, bridal showers and birthday parties!

Leave a Reply