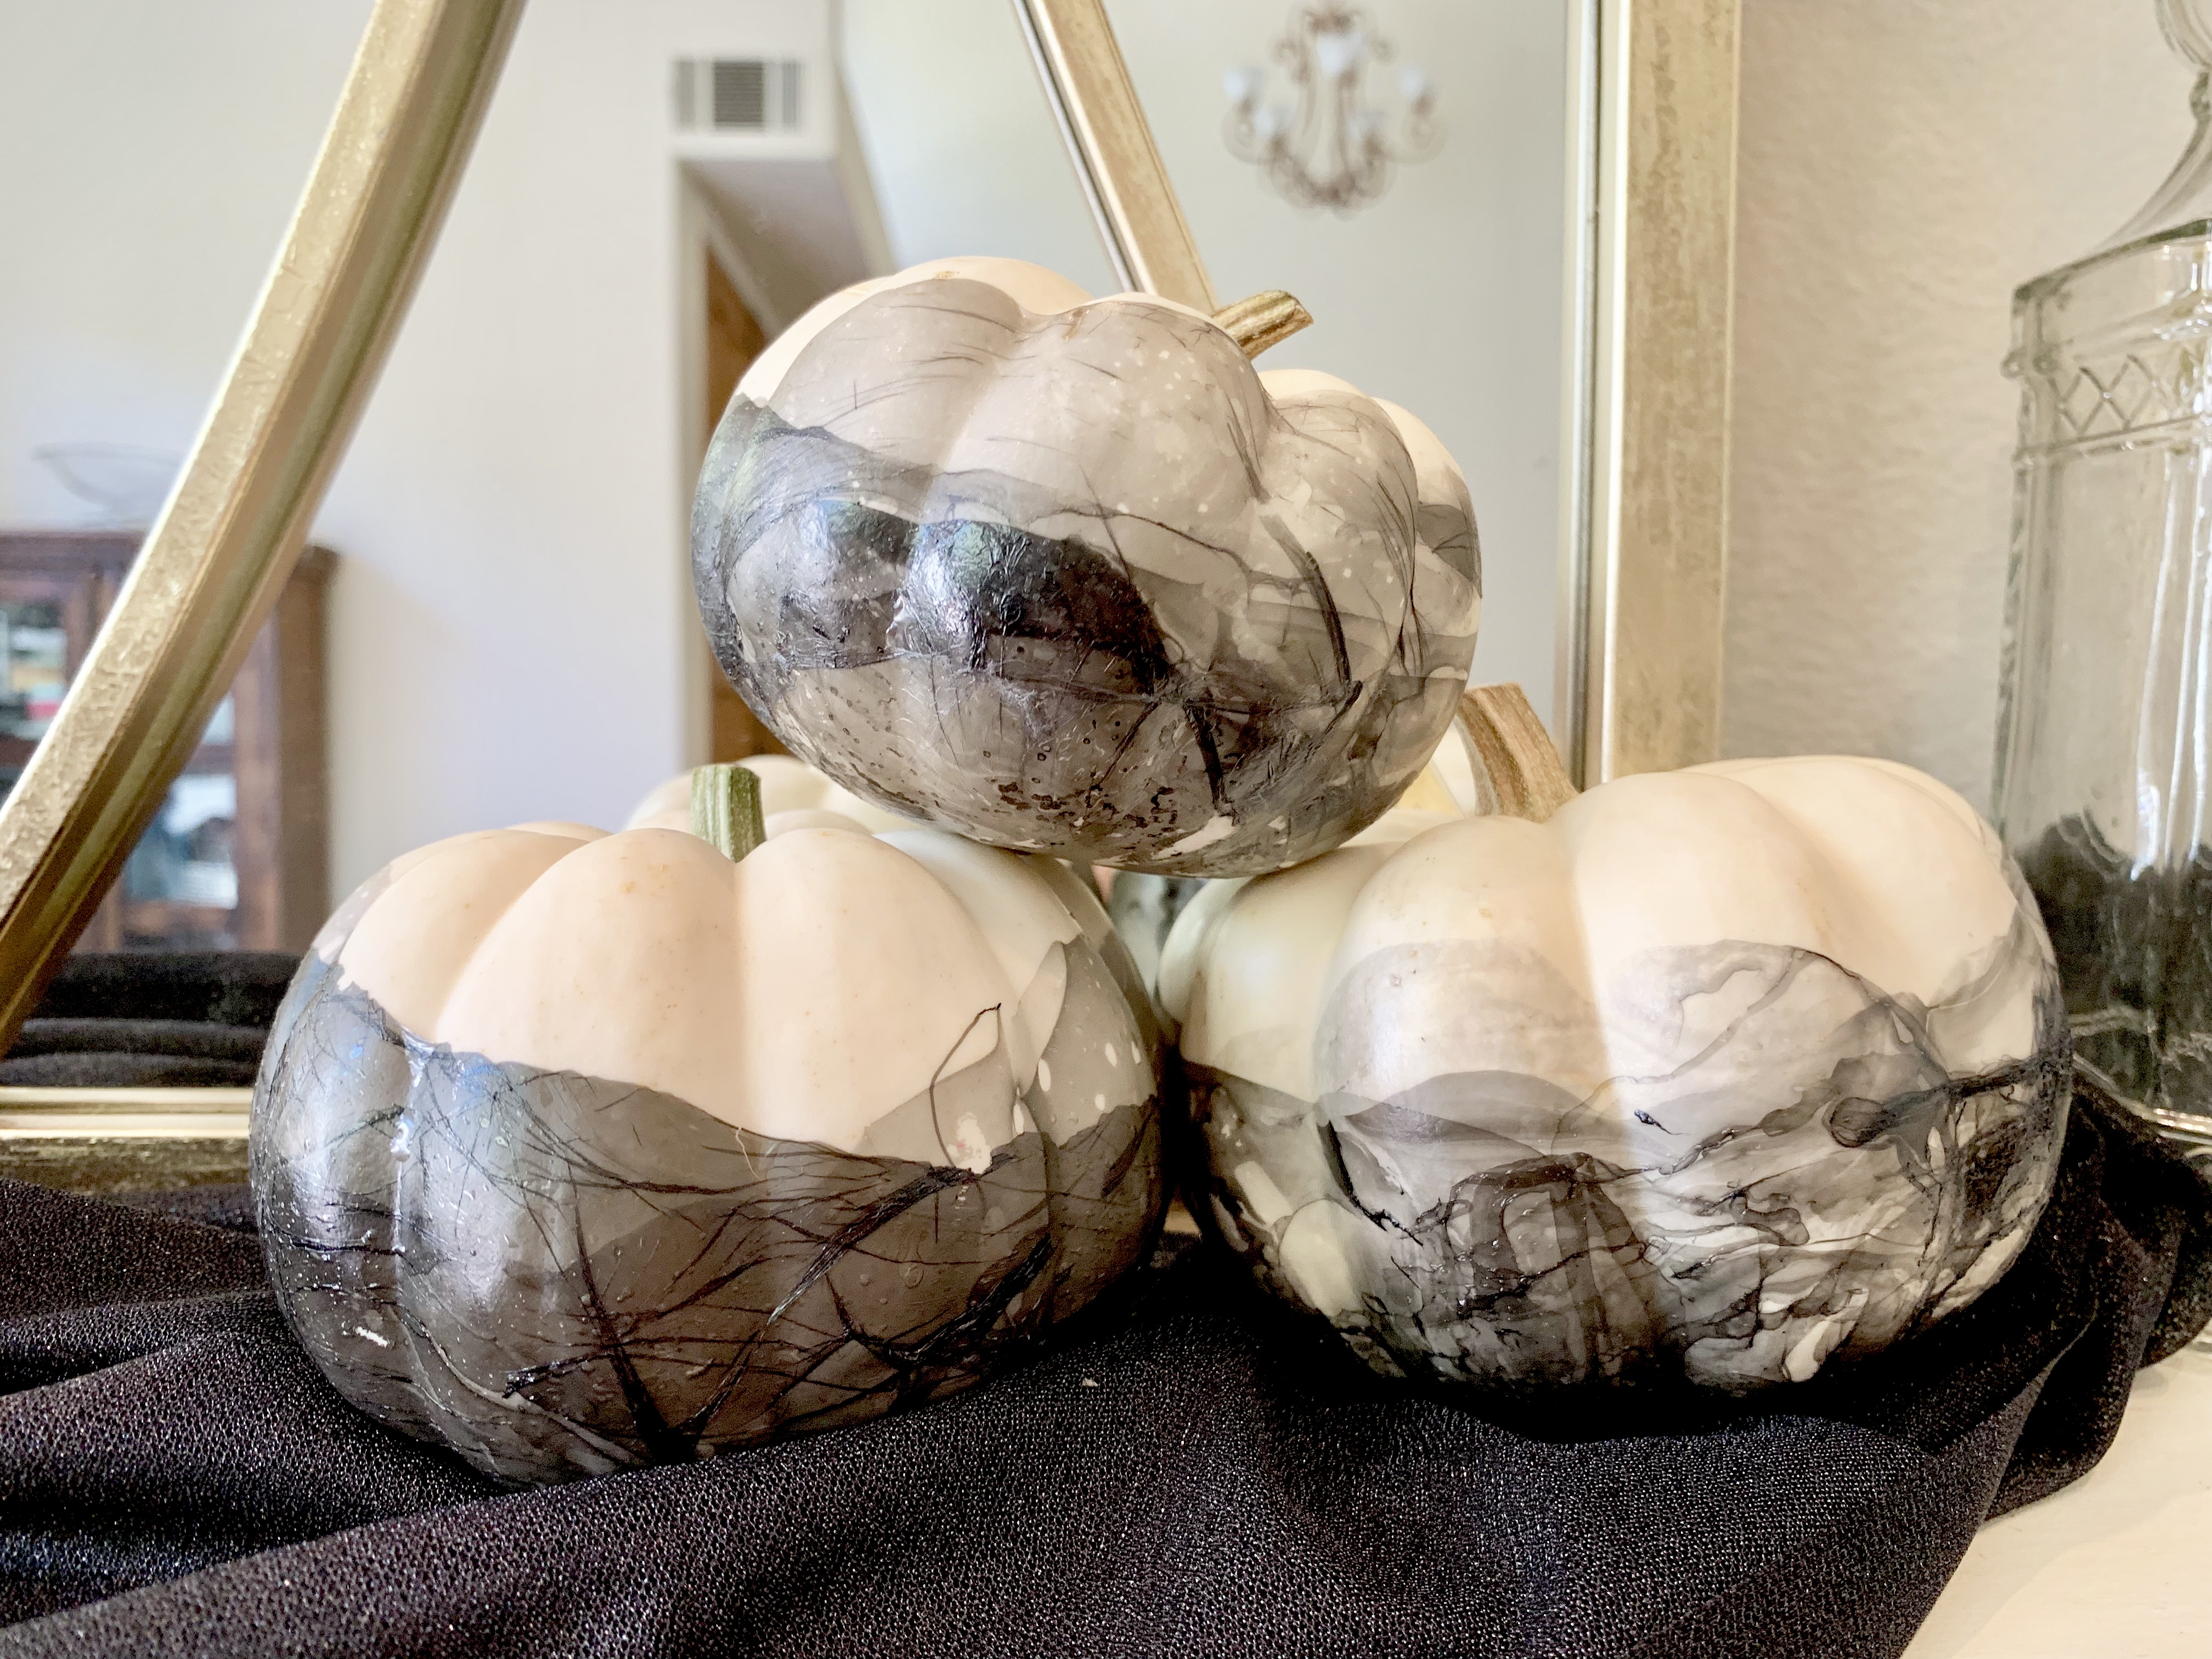
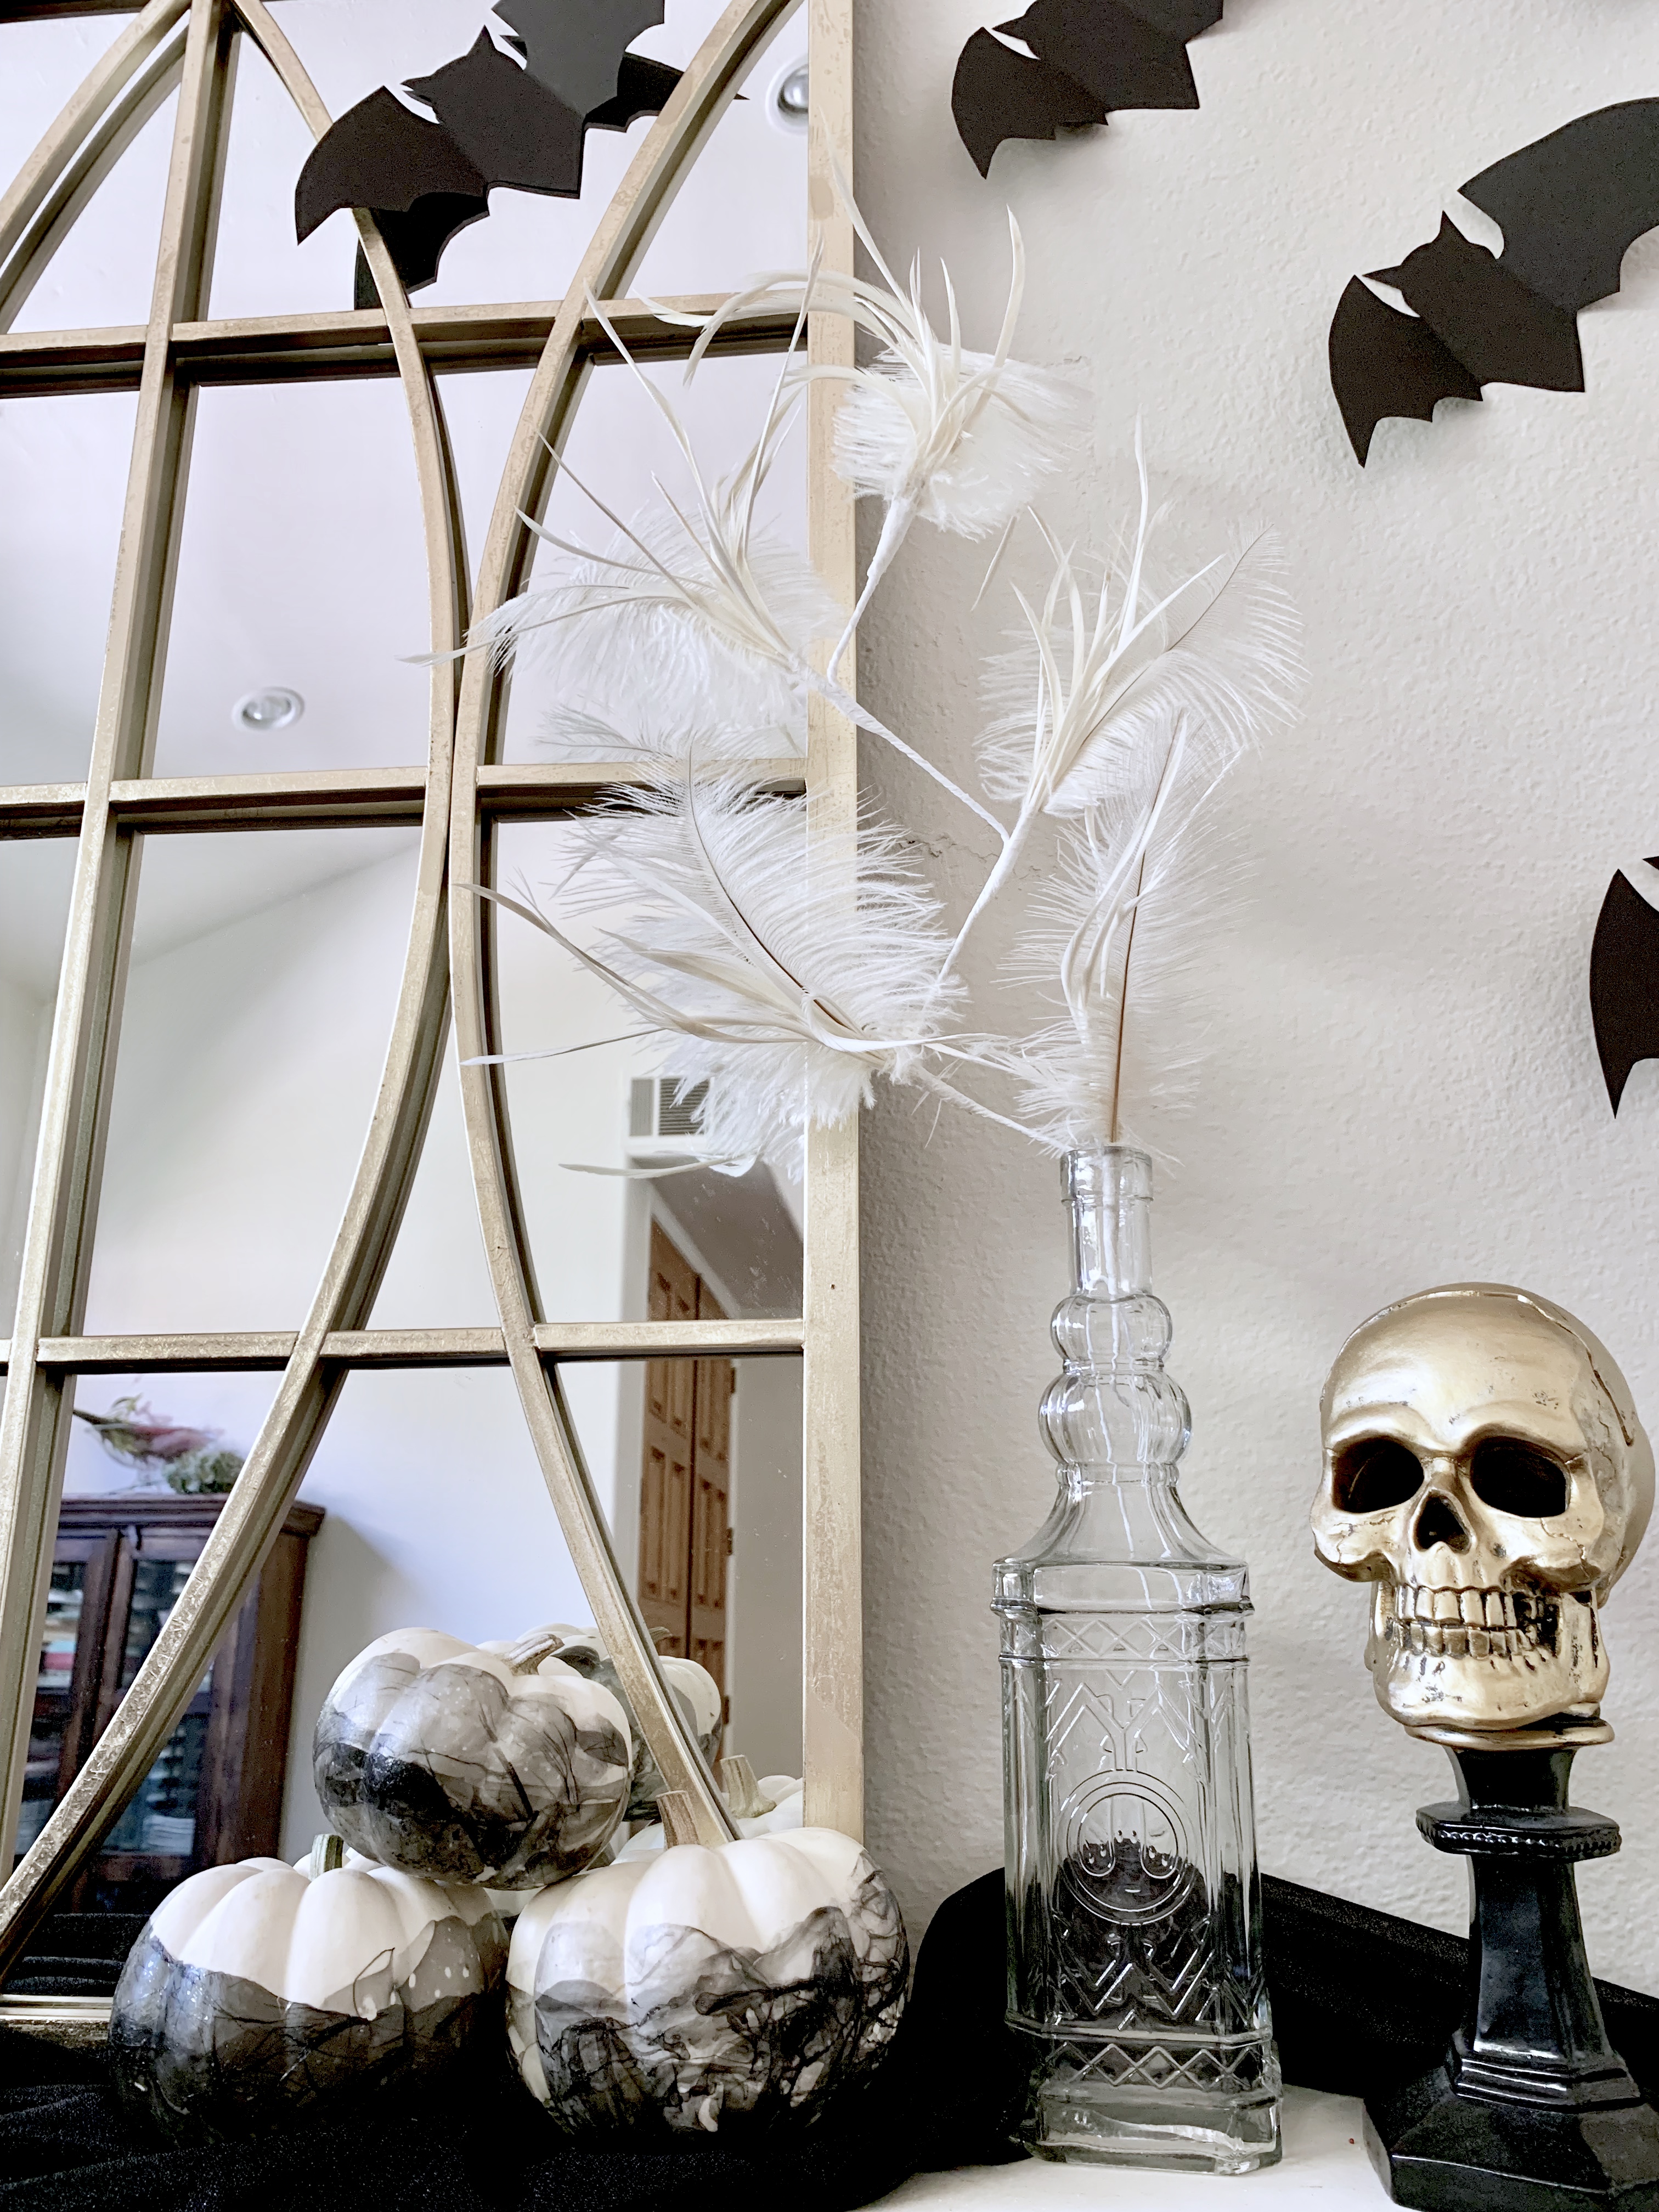
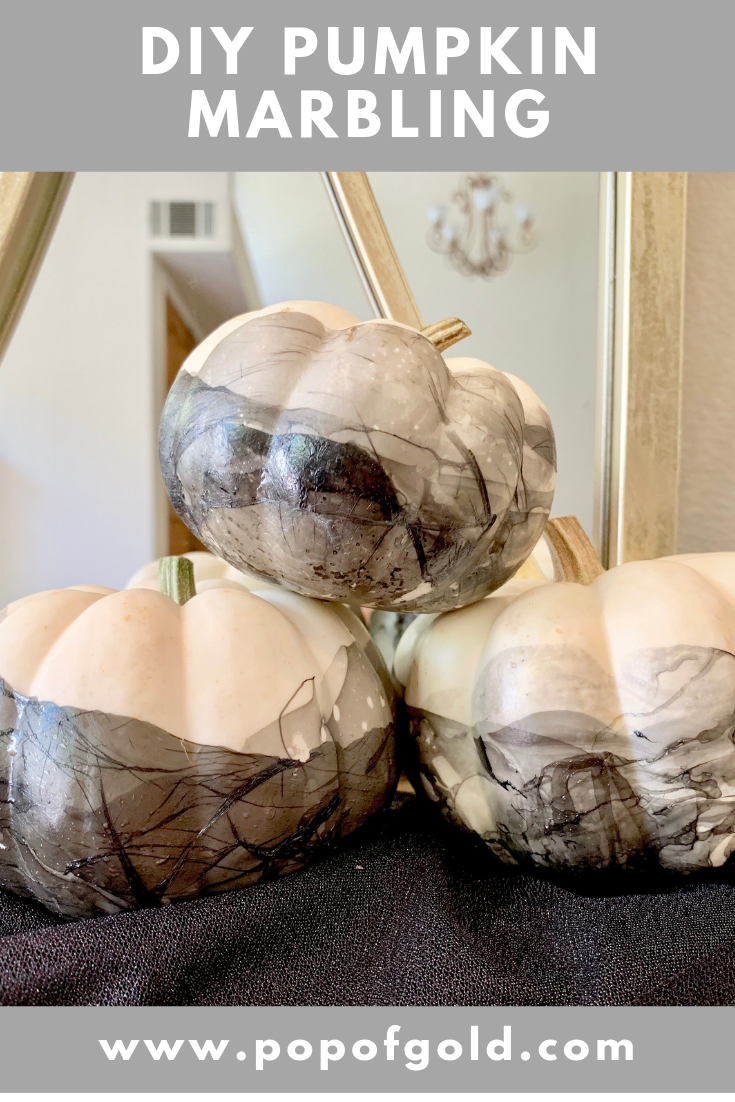
Happy October! Today I have a super easy and quick DIY for you! You can get a marble look on your pumpkins with some nail polish! My girls and I are doing Pumpkins as this months Head Out with Us theme! So head over to my IG page to check out all of our pumpkin ideas for you!
Supplies you will need:
-Mini pumpkins (white works best)
-Sally Hansens Extreme Wear Nail Polish – this polish is known to be the best for marbling in the water. Some nail polishes will not work. Also, you can use any color, so if you want brighter colors, go for it! You can also use multiple colors.
-Deep foil pan or water container – something you are ok with tossing out, and make sure its deep enough to submerge your pumpkin.
-Room temp water
-Q-tips
-Gloves (optional – but if you want to submerge the entire pumpkin, I suggest the gloves, otherwise polish will be all over your fingers.) For the ones I did here, I only went half way up and left the tops of the pumpkins white, so I did not need gloves.
The how-to:
1. Place room temp water in your container. It’s important for it to be room temp so the polish can spread.
2. During the next steps, you’ll want to work fast so that the polishes do not dry out. If they do, it gets clumpy. Open the polish colors you want to use.
3. Gently pour in some polish of each color, in a swirling motion. Reference my video below.
4. Holding the pumpkin by the stem, submerge the pumpkin in the water. Start at an angle, not straight up and down. Then swirl it around. Once you are satisfied with the result, take it out.
5. You can use a Q-tip to remove any excess polish that may be stringing off the bottom. Place the pumpkin on wax paper with some card board underneath to dry. Mine took about an hour to dry.
6. Before doing the next pumpkin, use a Q-tip to clean up the water by moving it around the surface of the water and collecting excess polish.
Watch how quick and easy it is! Happy crafting!
#diy #pumpkinmarbling
Leave a Reply