Here’s your easy DIY tutorial on how to create a streamer backdrop with crepe streamers!
Disclosure: Some of the links below are affiliate links. If you click through and decide to make a purchase, I will earn a commission at no additional cost to you. See my full disclosure policy here.
PIN for later:
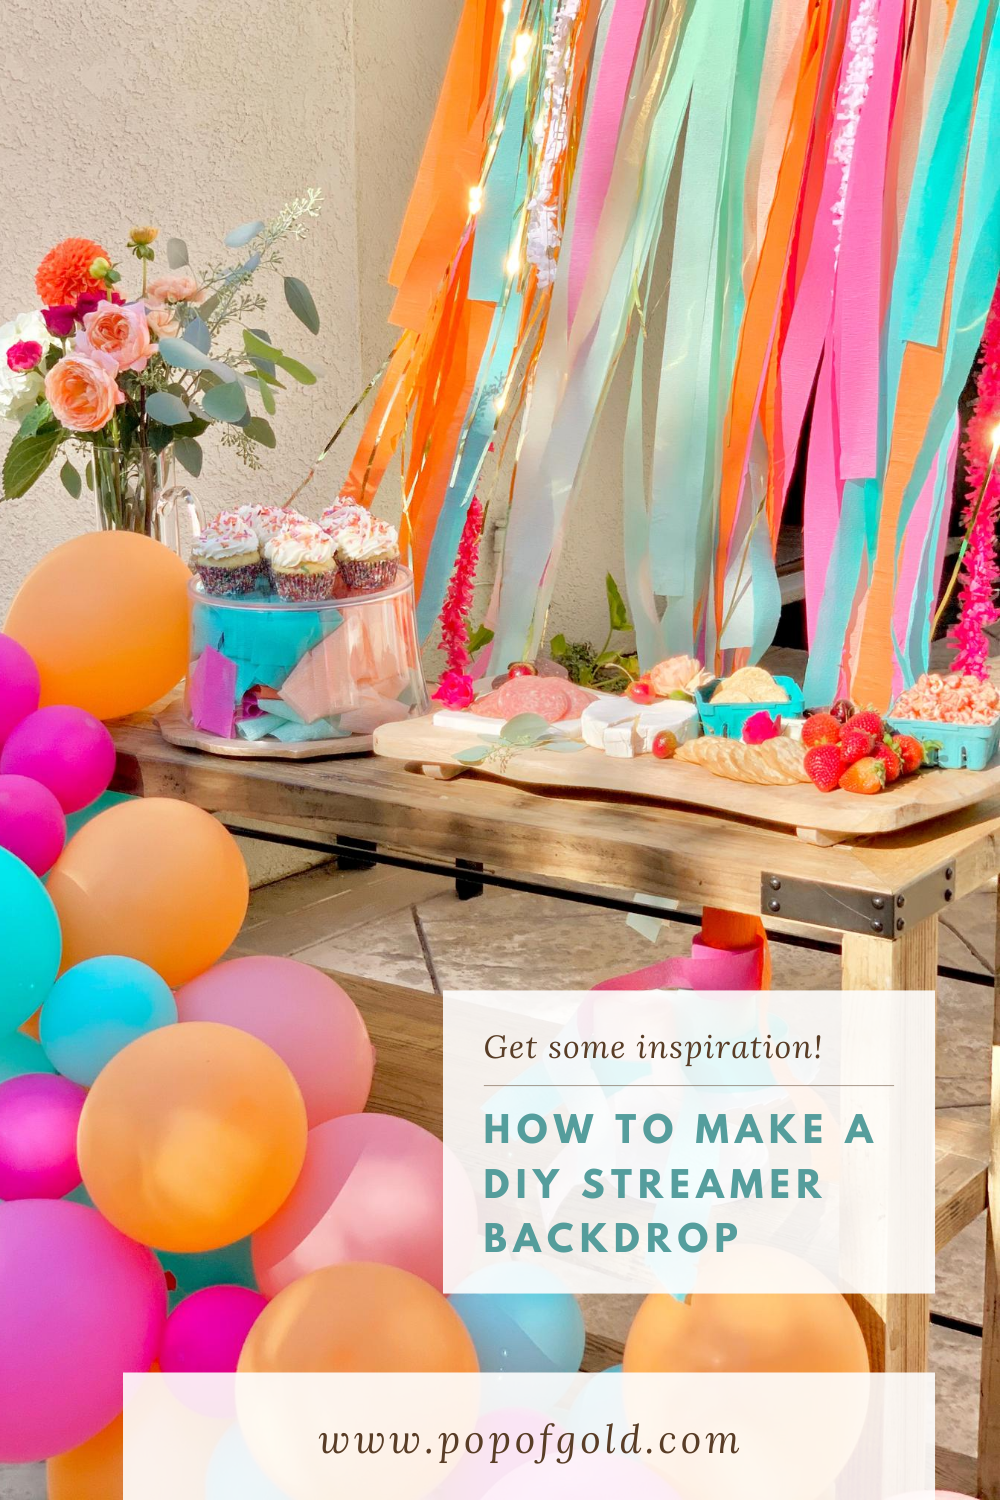
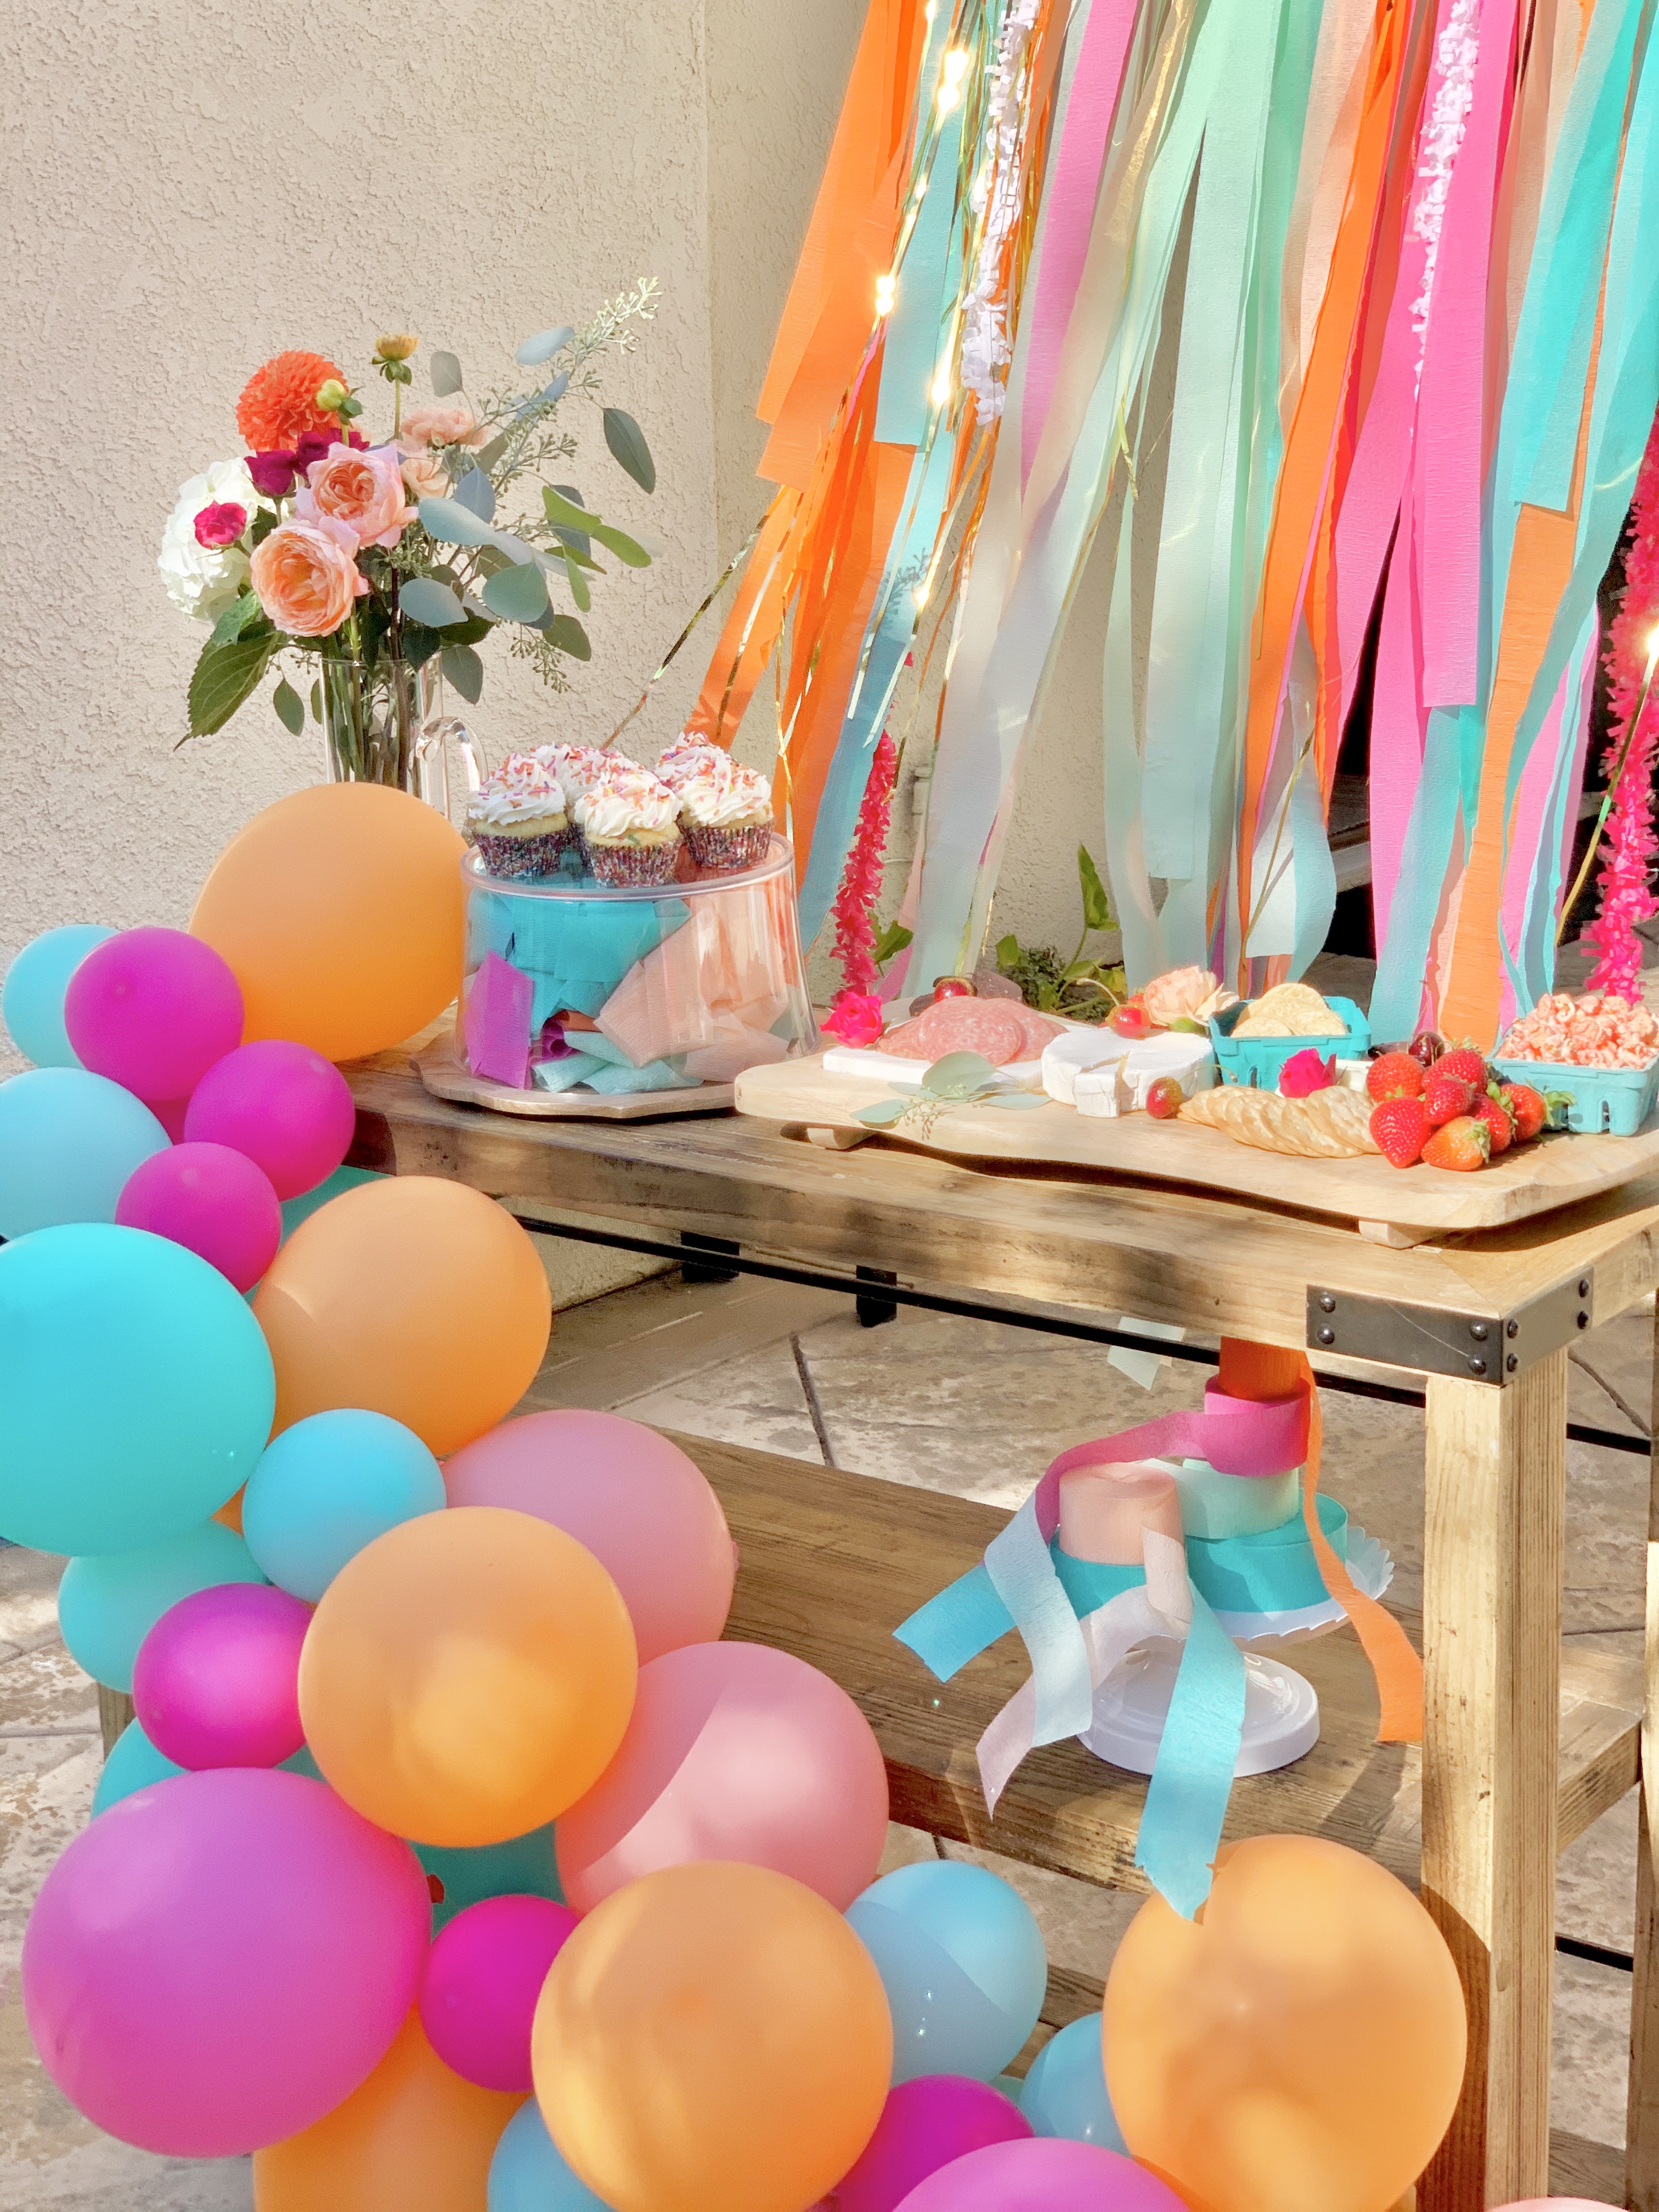
I knew I wanted these bright colors for a summer time party poolside. To start with my backdrop, I bought 99 cent streamers in hot pink, orange, teal, mint and peach. I also used some strands of gold metallic fringe backdrop and tissue fringe garland, both of which I had on hand from past parties. I linked tissue fringe from Target, but you can also find it at Michaels! The addition of the tissue fringe and metallic fringe give the backdrop texture, shine and dimension.
Supplies:
Jute Twine or string
Instruction:
- Cut a piece of twine or string the length of your desired garland/backdrop plus at least 3 feet extra for room on the ends for hanging. My backdrop was about 4 feet wide and my string was probably 7 or 8 feet long because I knew I needed lots of extra string for hanging to my patio pergola, which was very high in height. Hang the string on the wall to create this. You can see in my video I hung it on my shutters at shoulder height for easy of draping each piece over the twine. You can also tape to a wall.
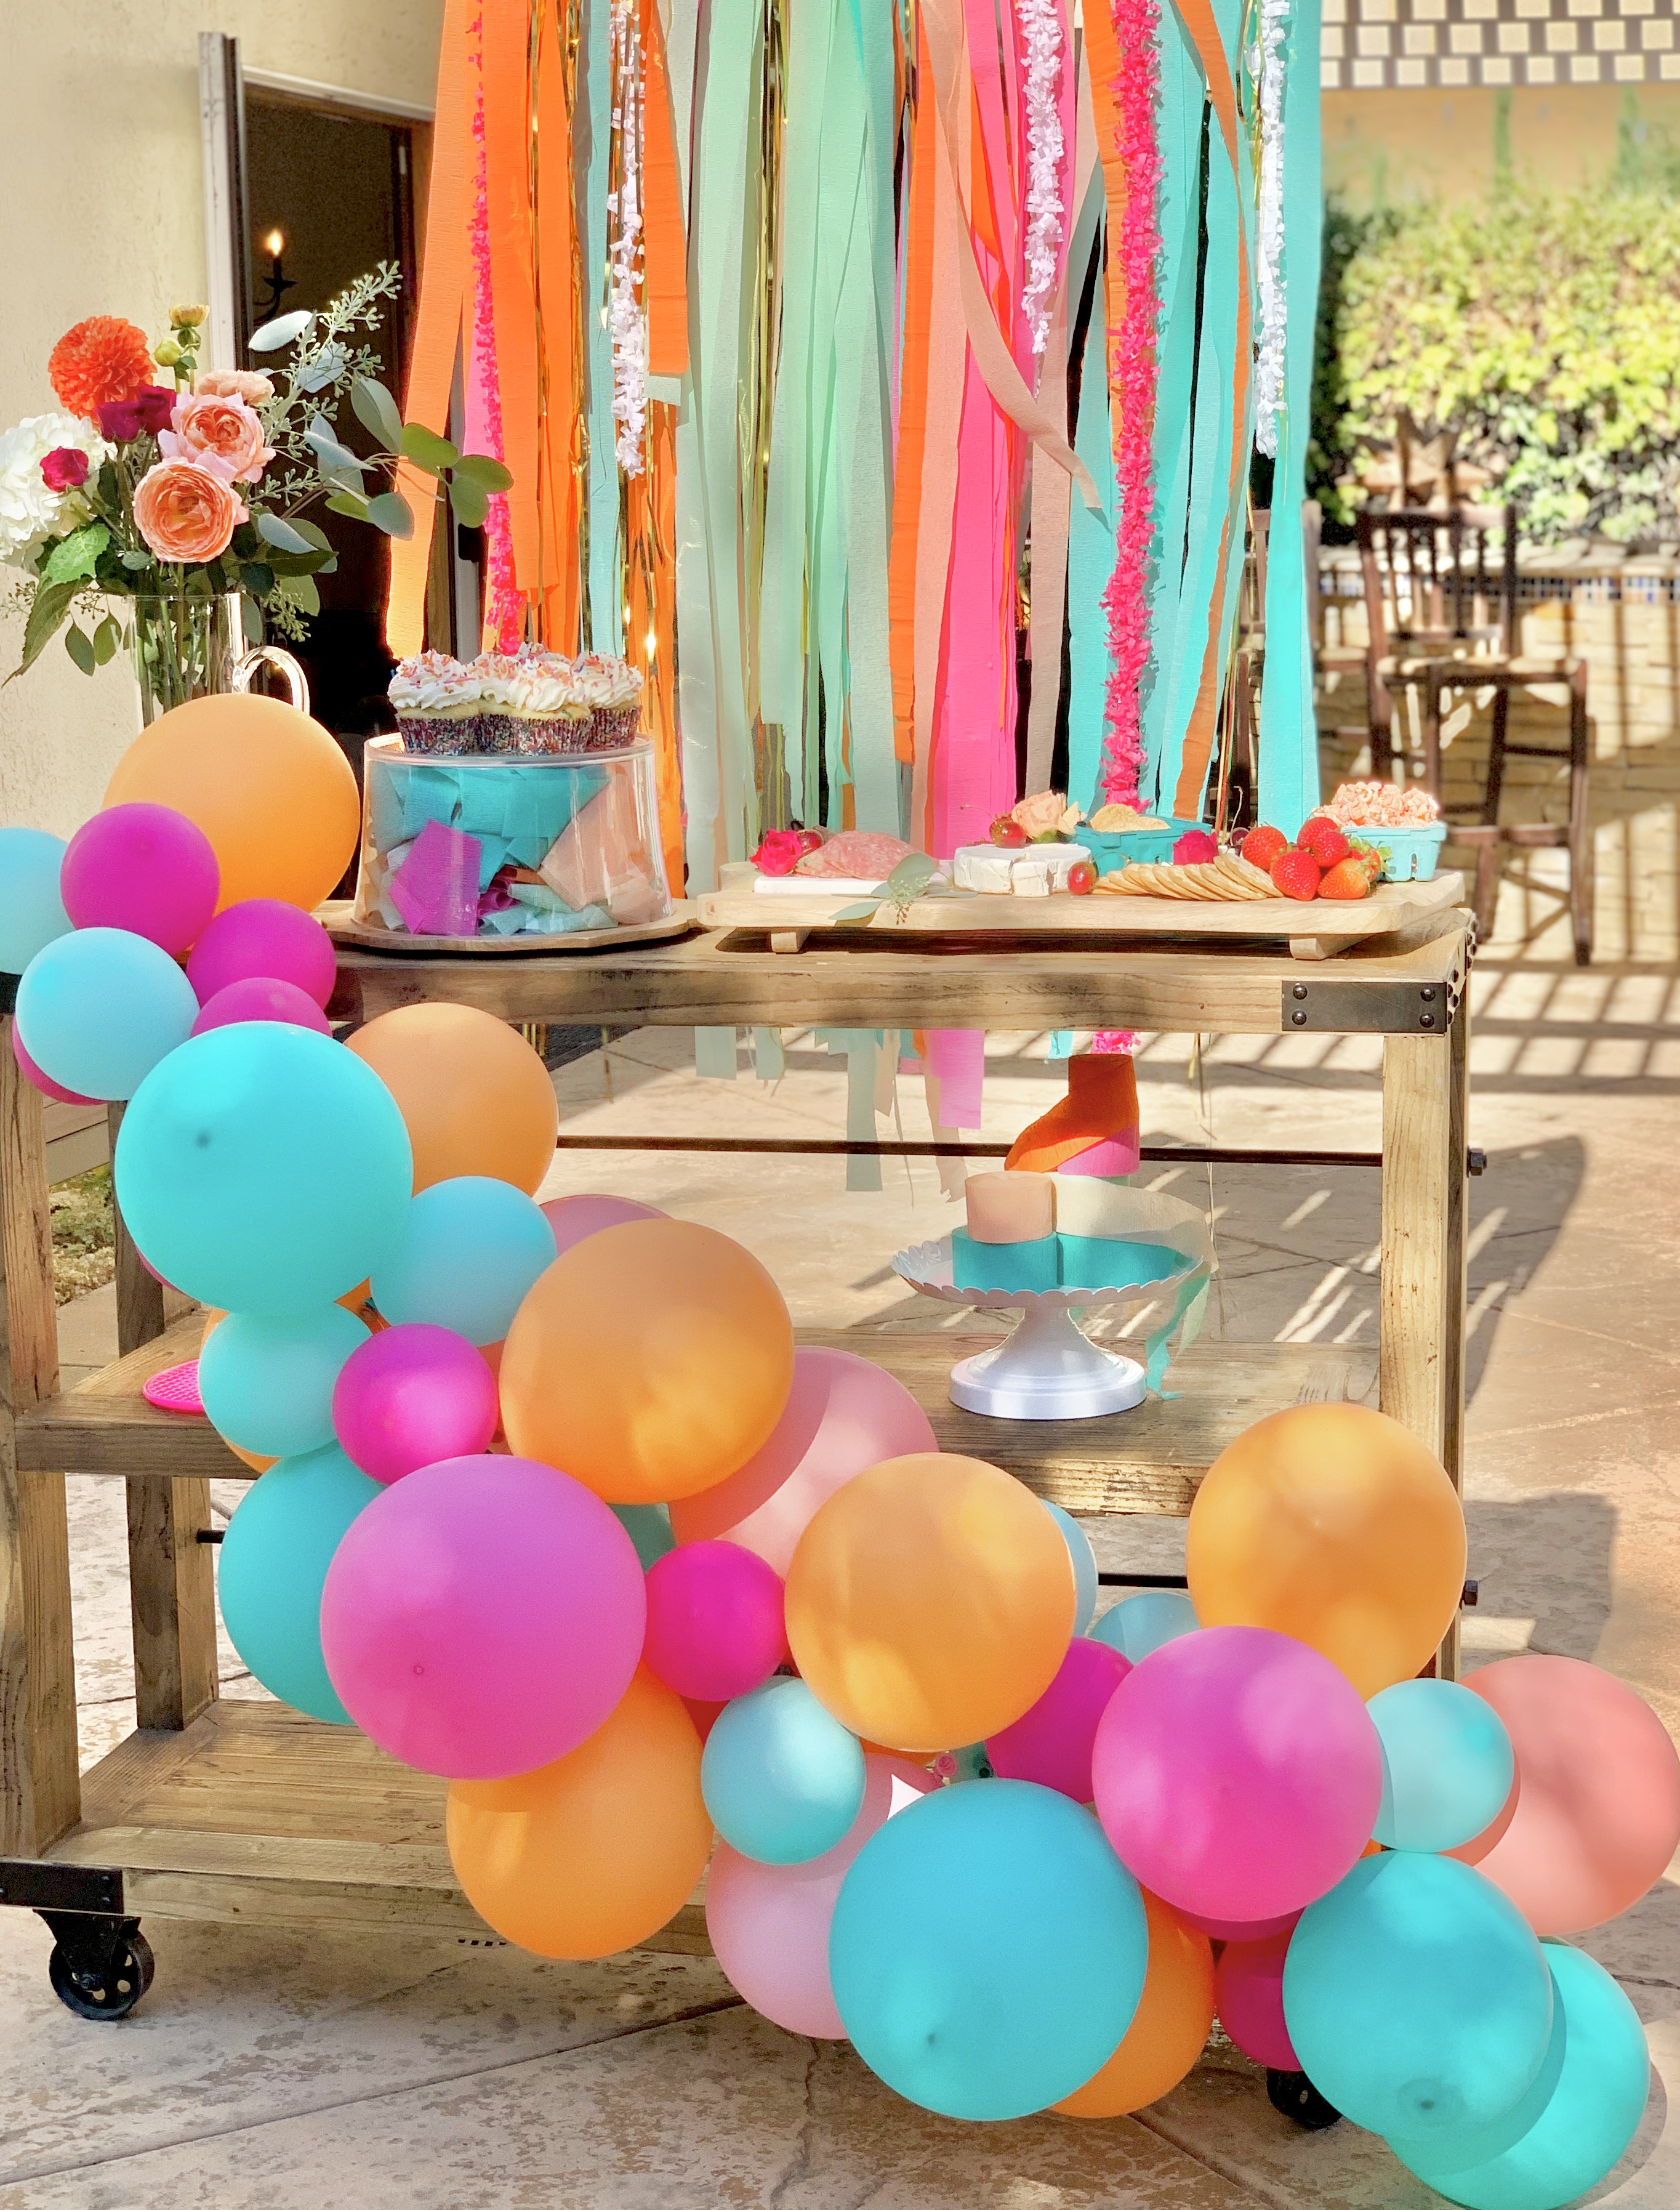
- Decide on your design. Will you want to do color blocking? Or just mix up the colors for a blended look? For mine, I started with color blocking, then added a few strands of the colors all over to mix and blend a bit.
- Decide the length of backdrop you want. Mine was about 4 feet long. So I started by cutting about 8 feet strips. Loop a strip over the string so they were even at the bottom. I used double sided tape to pinch the streamer strands together towards the top by the string. This will help the strands of streamers from not falling off the string. Do this especially if you’ll be hanging it outside, as wind will blow them all off the string.
- As you start filling out your garland, cut pieces at different lengths so that you can create a layered look. You’ll want some strand in front that are shorter than the strands behind.
- After you finish making the backdrop as full as desired, then add in stripes of tissue fringe, taping them to the garland, as well as strips of the metallic fringe to add flare and sparkle!
Hope you enjoyed my tutorial! Please let me know if you have questions! And tag Pop of Gold if you create one!
#diycrafts #streamerbackdrop #streamertutorial
Leave a Reply